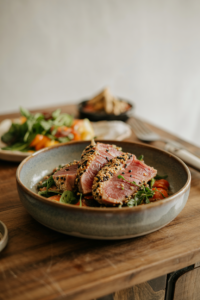
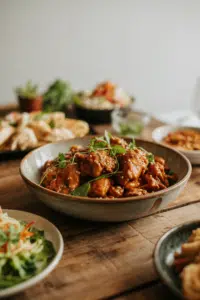
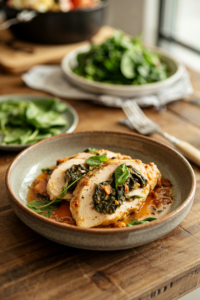
Chicken and gnocchi in one skillet, ready in under 30 minutes. The gnocchi stays pillowy while the chicken gets that seared edge you want. Sauce clings without turning gluey.

Creamy Chicken Gnocchi Skillet combines seared chicken and pillowy gnocchi in one pan with a rich cream sauce. Use medium-high heat to sear chicken quickly and stir constantly to thicken sauce without curdling. Store-bought gnocchi cooks in the skillet-no boiling needed.
Pan temperature matters. Medium-high heat keeps everything moving fast enough that the cream thickens instead of breaking. If you like something juicy like this, the technique translates perfectly-high heat, quick moves, constant stirring.
Store-bought gnocchi simplifies prep. Fresh or frozen both work, no need to boil them separately. The skillet method sears the edges while the sauce simmers around them.
One pan. No extra pots. Dinner on the table before anyone starts asking what's taking so long.
Why This Recipe Works
Searing chicken first locks in moisture while building fond on the pan bottom. That browned layer becomes the flavor base when you deglaze with broth. For a lighter contrast, something juicy like this balances the richness.
Remember it later
Planning to try this recipe soon? Save it for a quick find later!
- High heat sears chicken fast. Medium heat steams instead of browning, leaving chicken rubbery and bland.
- Gnocchi goes in halfway. Adding it too early makes it gummy; too late and it stays hard in the center.
- Heavy cream thickens off boil. Simmering gently prevents curdling and keeps the sauce smooth.
- Parmesan adds body. Stir it in last so it melts evenly without clumping or turning greasy.
- Fresh garlic times matter. Add it in the final minute to prevent burning and bitterness.
What You'll Need
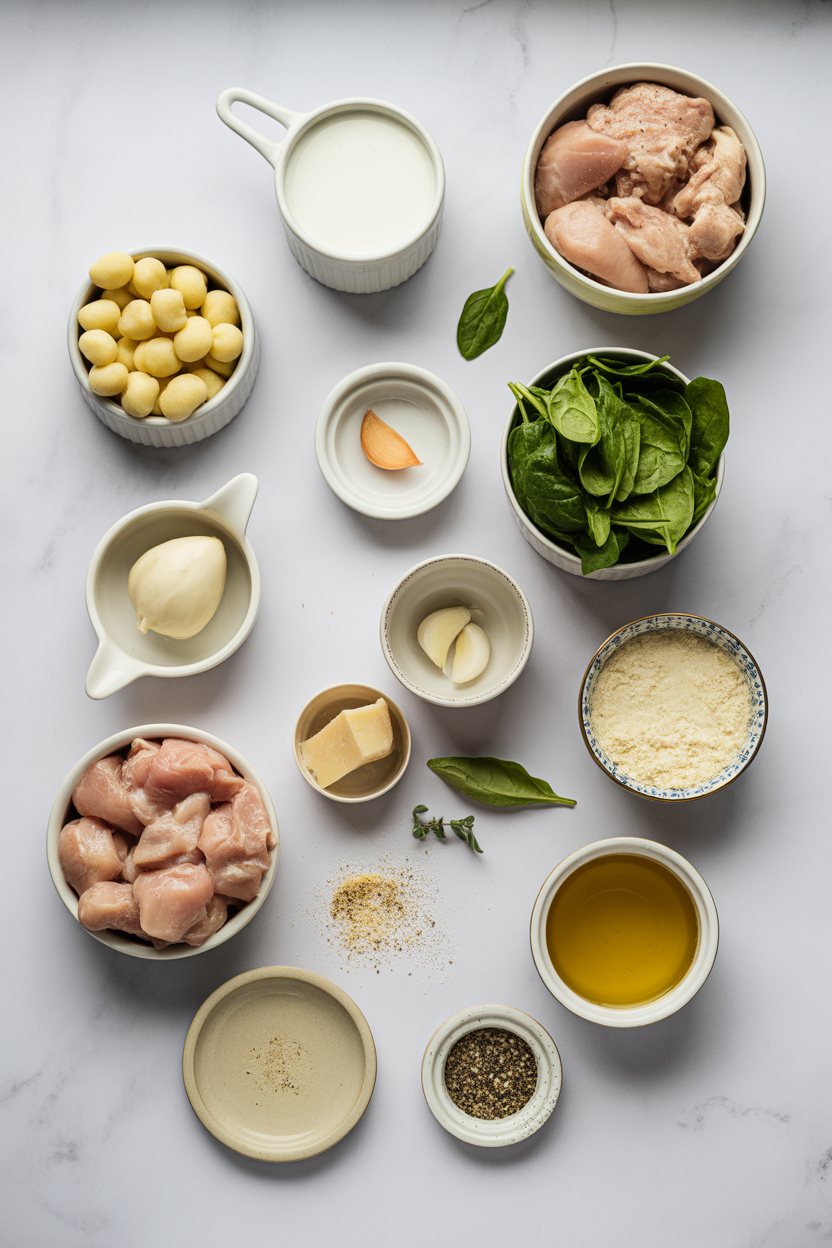
Store-bought gnocchi cuts prep time in half without sacrificing texture. Fresh chicken breast slices into uniform pieces for even cooking. If you're planning another one-pan option, these same pantry staples work across multiple meals.
- Boneless chicken breast
- Olive oil
- Potato gnocchi
- Heavy cream
- Parmesan cheese
- Butter
- Garlic
- Onion
- Chicken broth
- Fresh thyme
Ingredient Details
- Boneless chicken breast Cut into 1-inch cubes for quick, even cooking-thinner pieces dry out before gnocchi finishes.
- Potato gnocchi Fresh gnocchi from the refrigerated section stays pillowy; frozen works but needs 2 extra minutes.
- Heavy cream Half-and-half thins the sauce too much; stick with heavy cream for body that coats each piece.
- Parmesan cheese Grate fresh from a block-pre-shredded has anti-caking agents that make the sauce gritty.
- Garlic Mince fresh cloves and add in the last 30 seconds; garlic powder lacks the punch this dish needs.
- Chicken broth Low-sodium gives you control over salt; regular broth plus Parmesan can tip into oversalted territory.
- Fresh thyme Strip leaves from stems before adding-woody stems don't soften and ruin bites.
Ingredient Swaps
Chicken thighs hold up to high heat better than breasts if you prefer darker meat. For variations on this same skillet technique, the swap principles stay consistent-adjust liquid and timing slightly.
- Coconut cream for heavy cream. Use full-fat canned coconut cream in equal amounts for dairy-free richness with subtle sweetness.
- Cauliflower gnocchi for potato. Cuts carbs but needs extra time to crisp; add 3 minutes and watch for mushy centers.
- Turkey sausage for chicken. Slice into rounds and skip the searing step since sausage is pre-cooked.
- Spinach or kale for greens. Stir in 2 cups at the very end so leaves wilt without turning slimy.
Dairy Swaps
Works for: Coconut cream or cashew cream matches heavy cream's thickness and coats gnocchi evenly
Skip if: You want traditional flavor-coconut adds sweetness that changes the profile
Gnocchi Swaps
Works for: Cauliflower gnocchi or gluten-free potato gnocchi keep similar texture with dietary tweaks
Skip if: You need exact chew-cauliflower turns mushy faster and gluten-free can crumble
Instructions
Get everything prepped before you start cooking-this moves fast once the pan heats up. Chicken, gnocchi, and sauce come together in one skillet without juggling multiple burners.
Heat 2 tablespoons olive oil in a large skillet over medium-high heat. Add chicken cubes in a single layer and cook undisturbed for 3 minutes until golden on one side, then flip and cook 2 minutes more until no longer pink inside.
Remove chicken to a plate and add 1 tablespoon butter to the same pan. Toss in diced onion and cook for 2 minutes until softened, scraping up browned bits from the bottom.
Add gnocchi and ¾ cup chicken broth, then bring to a simmer. Cover and cook for 4 minutes until gnocchi puffs and softens, stirring once halfway through.
Stir in 1 cup heavy cream, minced garlic, and fresh thyme leaves. Simmer uncovered for 3 minutes until the sauce thickens enough to coat the back of a spoon.
Return chicken to the pan and stir in ½ cup grated Parmesan. Cook for 1 minute until cheese melts and everything is heated through, then remove from heat and let rest 2 minutes before serving.
What to Serve With It
Balance the creamy sauce with something crisp or tangy on the side. Check out sides for rotisserie chicken for more pairing ideas that work just as well here.
| Side Dish | Prep | Why It Works | How to Serve |
|---|---|---|---|
| Arugula salad | Easy | Peppery bite cuts through richness | Toss with lemon juice and olive oil |
| Roasted broccoli | Easy | Charred edges add smoky contrast | Roast at 425°F for 18 minutes |
| Garlic bread | Easy | Soaks up extra sauce | Toast under broiler until golden |
| Steamed green beans | Easy | Light, crisp texture balances creamy | Steam 5 minutes, toss with butter |
| Balsamic tomatoes | Easy | Acidity brightens heavy sauce | Halve cherry tomatoes, drizzle vinegar |
Three ways to serve it:
- In shallow bowls. Lets the sauce pool at the bottom for dipping bread between bites.
- Over a bed of spinach. Wilts slightly from the heat and adds greens without extra prep.
- Family-style in the skillet. Bring the pan to the table and let everyone serve themselves.
Store and Reheat
Cool the skillet completely before transferring to containers-hot food creates condensation that makes gnocchi soggy. Separate storage keeps texture intact longer. Pair leftovers with this creamy sauce for a quick next-day meal.
| Method | Time | Best For |
|---|---|---|
| Stovetop with splash of broth | 5 min | Keeps gnocchi from drying out |
| Microwave covered | 2 min | Quick single servings at lunch |
| Oven at 350°F covered | 12 min | Large portions for meal prep |
- Refrigerate in airtight containers. Store up to 3 days; sauce thickens in the fridge but loosens when reheated with added liquid.
- Freeze in portions. Divide into single servings and freeze up to 2 months; gnocchi texture softens slightly but stays edible.
- Add broth when reheating. Pour in 2 tablespoons chicken broth per serving to restore creaminess and prevent dryness.
- Reheat gently on stovetop. Use medium-low heat and stir frequently so the sauce doesn't break or stick to the pan.
- Skip the microwave for best texture. Stovetop keeps gnocchi pillowy; microwave can turn it rubbery if overheated.
Frequently Asked Questions
Yes, frozen gnocchi works perfectly. Add it directly to the pan without thawing and increase the covered simmer time by 2 minutes. The extra moisture from frozen gnocchi won't affect the final sauce thickness.
Dip a spoon into the sauce and run your finger across the back. If the line holds without running together, it is ready. The sauce thickens more as it cools, so pull it off heat when it looks slightly thinner than you want.
Curdling happens when cream boils or gets added to a pan that is too hot. Keep the heat at medium once you add cream and never let it reach a rolling boil. If it starts to break, remove from heat immediately and whisk in a tablespoon of cold cream to smooth it back out.
Cook the chicken and gnocchi ahead but stop before adding cream. Store in the fridge up to 1 day, then reheat in the skillet with broth before stirring in cream and Parmesan. This keeps the sauce fresh and prevents gnocchi from soaking up too much liquid.
A 12-inch skillet gives you enough room for chicken to sear without crowding and for gnocchi to cook in a single layer. Smaller pans force you to cook in batches, which adds time and makes it harder to get even browning on the chicken.
Creamy Chicken Gnocchi Skillet
Ingredients
Equipment
Method
- Heat 2 tablespoons olive oil in a large skillet over medium-high heat. Add chicken cubes in a single layer and cook undisturbed for 3 minutes until golden on one side, then flip and cook 2 minutes more until no longer pink inside.
- Remove chicken to a plate and add 1 tablespoon butter to the same pan. Toss in diced onion and cook for 2 minutes until softened, scraping up browned bits from the bottom.
- Add gnocchi and ¾ cup chicken broth, then bring to a simmer. Cover and cook for 4 minutes until gnocchi puffs and softens, stirring once halfway through.
- Stir in 1 cup heavy cream, minced garlic, and fresh thyme leaves. Simmer uncovered for 3 minutes until the sauce thickens enough to coat the back of a spoon.
- Return chicken to the pan and stir in ½ cup grated Parmesan. Cook for 1 minute until cheese melts and everything is heated through, then remove from heat and let rest 2 minutes before serving.