For nights when you want handmade comfort without the takeout menu, pelmeni delivers. Thin dough pockets filled with seasoned beef and boiled until tender-that's the entire pitch.

This works for meal prep since you can freeze dozens at once. Pull them straight from the freezer into boiling water and dinner's ready in seven minutes.
Perfect for budget cooking when you need to stretch ground beef across multiple meals or feed a crowd without spending hours at the stove.
Russian beef pelmeni are thin-dough dumplings filled with seasoned ground beef, boiled until they float, then served with sour cream. The key is rolling dough to 1mm thickness so wrappers stay tender, not chewy. Make this when you want authentic Eastern European comfort that freezes well for quick future dinners.
Why This Recipe Works
Thin-rolled dough and properly seasoned beef create the texture contrast that makes pelmeni worth the effort. We keep a batch ready for nights like this-a hearty beef recipe stores well and reheats without losing its integrity.
Remember it later
Planning to try this recipe soon? Save it for a quick find later!
Prep Time
45 min
Cook Time
5-7 min
Total Time
52 min
Servings
4 servings (about 40 pelmeni)
Difficulty
Medium
Category
Main Dish
Quick Tip
Seal edges tightly for no leaks when boiling
Best For
Weeknight | Meal prep | Entertaining
What makes this work:
- Dough rests 30 minutes so gluten relaxes and rolling becomes easier without tearing
- 1mm thickness on dough rounds creates tender wrappers that cook through in 5-7 minutes
- Finely grated onion in filling adds moisture so beef stays juicy instead of dry after boiling
- Pelmeni float when done and dough turns translucent-clear visual doneness cues
- Salt added to both dough and filling prevents bland-tasting dumplings after cooking
What You'll Need
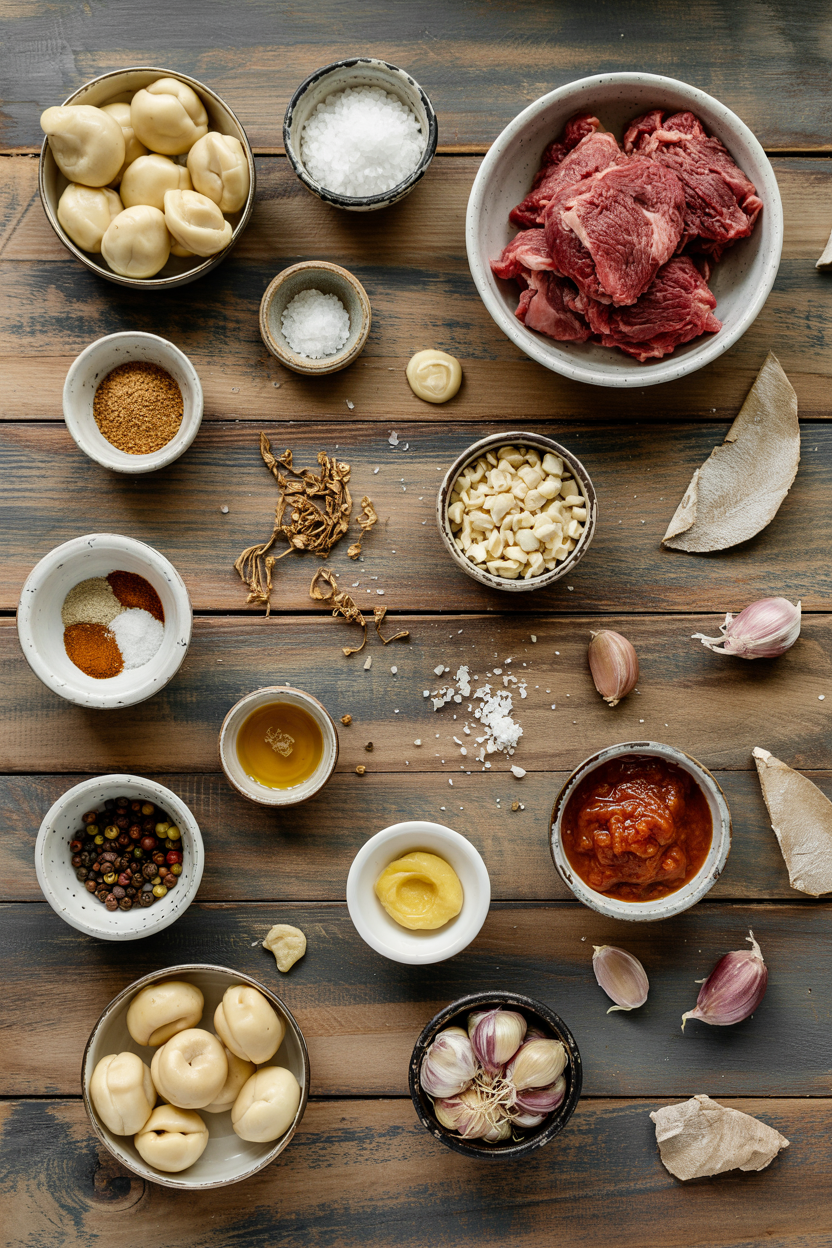
The ingredient list splits between dough components and filling-shop for medium-fat ground beef and all-purpose flour as your base. For a version that comes together quickly, a fresh homemade salad recipe works as a simple side while you shape dumplings.
- Ground beef (medium-fat)
- Onion (finely grated)
- Garlic (minced)
- Salt
- Black pepper
- All-purpose flour
- Eggs
- Water
- Salt
- Butter
- Sour cream
Ingredient Details
- Ground beef
Use 80/20 fat ratio for juicy filling-leaner meat dries out during cooking - All-purpose flour
Regular flour creates elastic dough that rolls thin without tearing - Onion
Grate finely so it distributes moisture evenly through filling - Eggs
Binds dough and creates structure for rolling and sealing - Water
Add gradually to control dough hydration-too wet tears, too dry cracks - Butter
Melted butter tossed with boiled pelmeni adds richness before serving - Sour cream
Traditional topping that adds tangy contrast to seasoned beef
Ingredient Swaps
Dough and filling both tolerate substitutions if you adjust technique to match. We keep a batch ready for nights like this-a quick slaw dish brings crunch when rich dumplings need textural contrast on the plate.
Four swaps that work:
- Ground turkey for beef - Leaner meat means less juice, so add 1-2 tablespoons of broth or melted butter to filling before sealing
- Gluten-free flour mix for all-purpose - Dough will be less elastic and more fragile, so handle gently and roll slightly thicker than 1mm
- Plain yogurt for sour cream - Similar tangy finish with less fat, works for serving or mixing into garlic sauce
- Flax egg or extra water for eggs - Reduces dough binding, so dough may tear more easily during rolling and sealing
Ground Turkey Filling
Works for: Budget cooking, leaner protein preference
Skip if: You want traditional juicy beef texture
Gluten-Free Flour
Works for: Gluten-free diets, celiac needs
Skip if: You're new to pelmeni-regular dough is easier to handle
Instructions
Expect 45 minutes of active work spread between dough resting and dumpling assembly. Rich mains need something to cut through, and a homemade sauce recipe adds dipping options when plain sour cream feels too simple.
Mix dough and rest. Combine flour, eggs, water, and salt until dough forms. Knead 5 minutes until smooth, then cover and rest 30 minutes at room temperature.
Prepare filling. Mix ground beef, finely grated onion, minced garlic, salt, and black pepper until combined. Season generously-filling tastes bland after boiling if undersalted.
Roll and cut dough. Roll dough to 1mm thickness on floured surface. Cut 3-inch circles with round cutter, gathering scraps to re-roll once.
Fill and seal. Place 1 teaspoon filling in center of each circle. Fold dough in half to form crescent, press edges with finger, then pinch firmly to seal. Remove any air pockets.
Boil until done. Bring large pot of salted water to boil. Add pelmeni in batches without crowding. Cook 5-7 minutes until they float and dough looks translucent. Drain and toss with melted butter.
What to Serve With It
The dumplings need sides that cut richness or add crunch since pelmeni are soft and buttery. For more meal planning ideas, check this rich beef dish planning guide for pairing strategies across different beef-based dinners.
| Side Dish | Prep | Why It Works | How to Serve |
|---|---|---|---|
| Simple green salad | Easy | Adds freshness and balances richness | Dress lightly with vinegar and oil, serve cold |
| Boiled potatoes | Easy | Starchy accompaniment, traditional pairing | Toss with butter and dill, serve hot |
| Steamed vegetables | Easy | Light, healthy complement | Season with salt only, serve alongside |
| Pickled cucumbers | Easy | Tangy contrast to rich filling | Serve chilled as condiment |
| Beet salad (Vinegret) | Medium | Classic Russian side that brightens flavors | Dress with oil and vinegar, serve cold |
Three ways to serve it:
- Traditional - Toss boiled pelmeni with melted butter and top with dollop of sour cream mixed with minced garlic
- Pan-fried - Boil first, then fry in butter 3-5 minutes until golden and crispy on edges
- In broth - Serve pelmeni in hot beef or chicken broth with fresh dill and black pepper
Store and Reheat
Cooked pelmeni keep 3-4 days refrigerated or freeze raw ones for up to three months. The salad works best when it hits the table at the same time as the main, so pair with a warm rolls side if you need something that reheats well alongside frozen dumplings.
| Method | Time | Best For |
|---|---|---|
| 🍳 Stovetop | 5 min simmer | Reheat frozen or refrigerated pelmeni evenly |
| 📦 Microwave | 1-2 min | Quick reheating, may lose crisp texture |
| 🔥 Oven | 10 min at 350°F | Pan-fried pelmeni to restore crispness |
For best results when storing:
- Freeze raw pelmeni in single layer on parchment-lined sheet for 30 minutes before transferring to freezer bag to prevent clumping
- Cook frozen pelmeni directly from freezer without thawing-add 2-3 minutes to boiling time
- Store cooked pelmeni in shallow airtight container with light coating of butter to prevent sticking
- Reheat in simmering water instead of microwave to maintain tender dough texture
- Pan-fry day-old pelmeni in butter to refresh texture and add crispy edges
Frequently Asked Questions
Yes, but ground turkey is leaner and dries out faster. Add 1-2 tablespoons of broth or melted butter to the filling before sealing to keep it juicy.
Refrigerate cooked pelmeni in an airtight container for 3-4 days. Freeze raw pelmeni in a single layer for 30 minutes, then transfer to a freezer bag for up to 3 months.
Pelmeni float to the surface and the dough turns slightly translucent after 5-7 minutes. Cut one open to check-filling should be hot throughout with no pink meat.
Edges aren't sealed tightly enough or dough has thin spots that burst. Press edges with your finger first, then pinch firmly to seal, and roll dough evenly to 1mm thickness.
Yes, scale all ingredients proportionally. Dough and filling both freeze well, so doubling the batch makes sense for meal prep.
Cook pelmeni in boiling salted water for 5-7 minutes. They're done when they float and dough looks translucent.
Yes, boil pelmeni first until cooked, then pan-fry in butter for 3-5 minutes to create crispy golden edges. This adds textural contrast to the tender filling.
Russian Beef Pelmeni
Ingredients
Method
- Combine flour, egg, water, and salt until a dough forms. Knead for 5 minutes until smooth, then cover and rest at room temperature for 30 minutes to relax gluten.2 cups all-purpose flour, 1 large egg, ⅓ cup water, ½ teaspoon salt
- Mix ground beef, finely grated onion, minced garlic, salt, and black pepper until thoroughly combined. Season generously to prevent blandness after cooking.1 pound ground beef, ½ cup onion, 2 cloves garlic, 1 teaspoon salt, ½ teaspoon black pepper
- Roll out the rested dough on a floured surface to approximately 1mm thickness. Use a 3-inch round cutter to cut circles. Gather scraps and re-roll once if needed.2 cups all-purpose flour
- Place 1 teaspoon of filling in the center of each dough circle. Fold dough in half to form a crescent, press edges with your finger, then pinch firmly to seal tightly. Remove all air pockets to prevent leakage.1 pound ground beef
- Bring a large pot of salted water to a boil. Add pelmeni in batches without crowding. Cook for 5-7 minutes until pelmeni float and the dough becomes translucent. Drain well.
- Toss boiled pelmeni with melted butter and serve topped with sour cream. Optionally, pan-fry boiled pelmeni in butter for 3-5 minutes until edges are golden and crispy for texture contrast.2 tablespoons butter, ½ cup sour cream
Notes
- Rest dough for at least 30 minutes before rolling to make thin rolling easier and prevent tearing.
- Seal dumpling edges twice: press with finger, then pinch firmly to prevent leaks during boiling.
- Use medium-fat ground beef (80/20) to keep filling juicy and flavorful after cooking.