Most homemade treats taste dry or fall apart when you cut them. The fix is melting marshmallows at low heat and mixing the cereal in fast before they cool and harden.
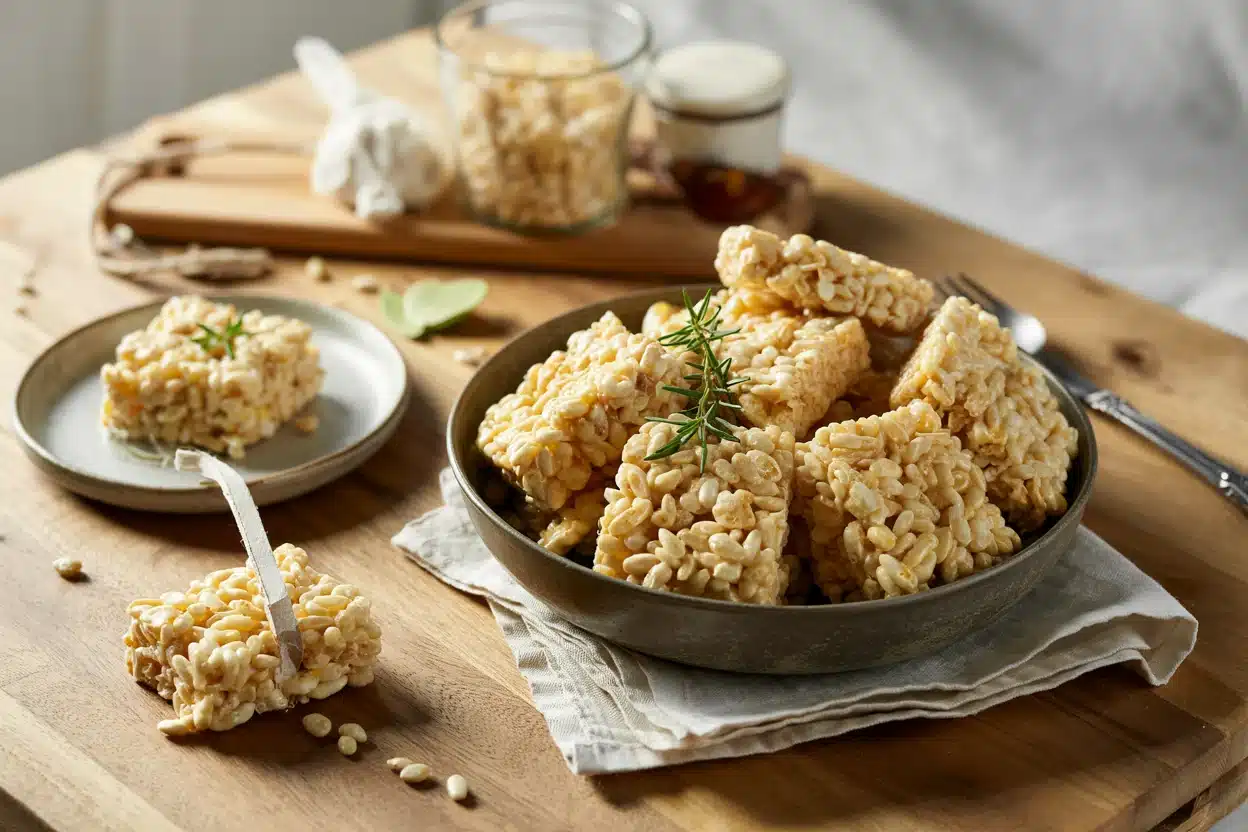
Work quickly once the marshmallows melt. You have about 30 seconds to fold in the cereal before the mixture sets up and becomes impossible to spread.
This is what you make when you need something sweet for kid's parties or potlucks without turning on the oven.
Rice Krispie Treats combine melted marshmallows and butter with crispy rice cereal, pressed into a pan and cooled until set. Low heat prevents burnt marshmallows while fast mixing keeps the texture light instead of dense. Make these when you need a no-bake treat that holds together without crumbling.
Why This Recipe Works
Low heat melting gives you smooth, pliable marshmallow mixture instead of scorched chunks that taste bitter. For a version that comes together quickly, this quick beef dish uses the same fast-mix technique to lock in texture before things set up.
Remember it later
Planning to try this recipe soon? Save it for a quick find later!
Prep Time
10 min
Cook Time
5 min
Total Time
15 min plus cooling
Servings
12 squares
Difficulty
Easy
Category
Dessert | Snack
Quick Tip
Melt marshmallows low heat, mix fast, press evenly
Best For
Weeknight | Entertaining | Budget
What makes this work:
- Butter melts first - Coating the pan with fat prevents marshmallows from sticking and burning on contact
- Constant stirring - Keeps marshmallows moving so they melt evenly instead of scorching in spots
- Quick folding - Adding cereal within 30 seconds means every piece gets coated before the mixture hardens
- Room temperature cooling - Lets treats set with a chewy texture instead of turning rock-hard in the fridge
- Sharp knife cuts - Buttering the blade prevents dragging and tearing through the sticky marshmallow layer
What You'll Need
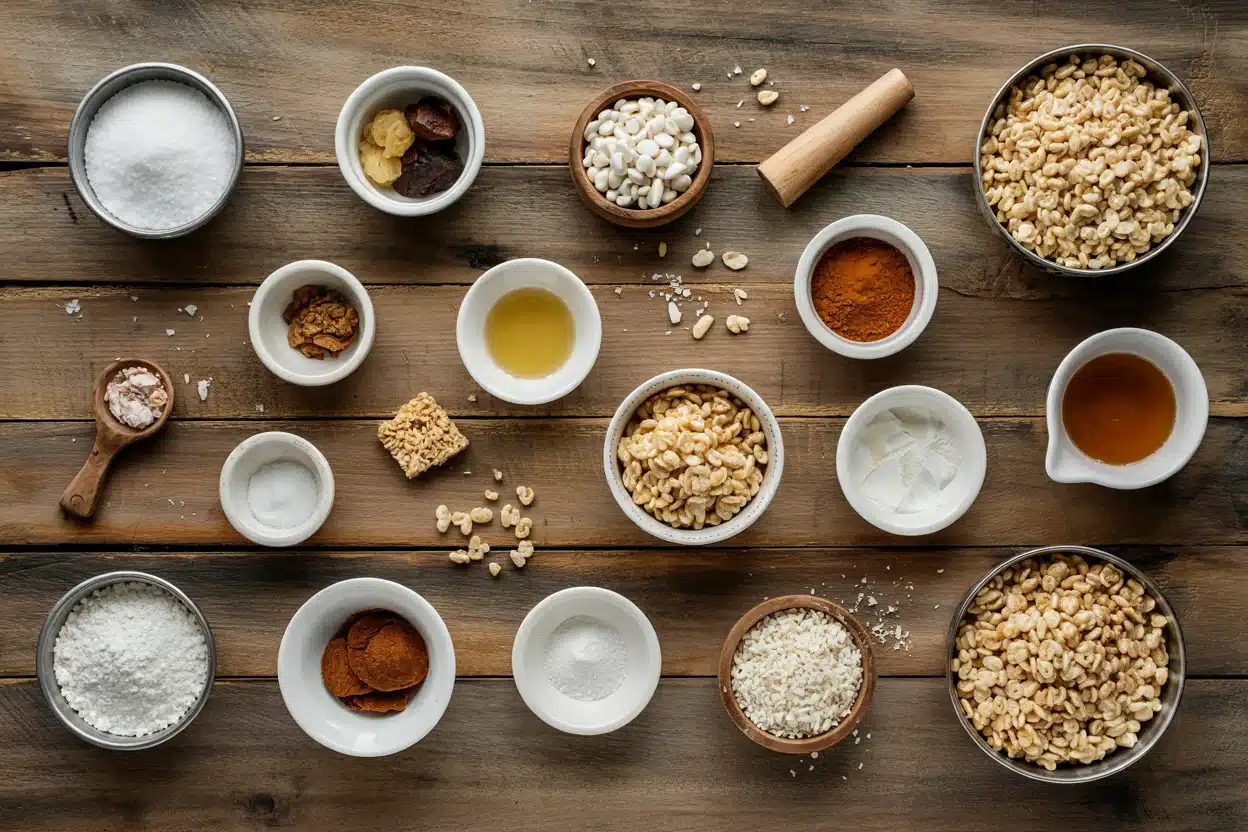
Rice Krispies cereal gives you the signature crispy texture, but any puffed rice works if you need a gluten-free version. We keep a batch ready for nights like this - classic pork dish timing overlaps perfectly when you're prepping multiple treats at once.
- 6 cups Rice Krispies cereal
- 3 tablespoons butter
- 10 oz marshmallows (about 40 regular)
- 1 teaspoon vanilla extract
- ¼ teaspoon salt
- ½ cup peanut butter
- ½ cup chocolate chips
- 2 tablespoons sprinkles
Ingredient Details
- Rice Krispies cereal
Measure after pouring - don't pack down or you'll end up with dense, heavy treats - Marshmallows
Fresh marshmallows melt smoother than stale ones that have dried out and hardened - Butter
Use salted or unsalted - both work, but skip the added salt if using salted butter - Vanilla extract
Add off heat so the alcohol doesn't cook off and leave bitter notes - Salt
Cuts through sweetness and makes the vanilla flavor pop instead of tasting flat - Peanut butter
Stir in with melted marshmallows for nutty flavor - adds richness but makes mixture denser - Chocolate chips
Fold into mixture while warm so they soften slightly without fully melting
Ingredient Swaps
Dairy-free butter works when someone can't have regular butter, but the flavor shifts slightly toward margarine territory. For a version that comes together quickly, more recipe ideas show you how ingredient ratios change texture and set time.
Four reliable swaps:
- Butter → dairy-free butter - Same texture, slightly different taste, works for dairy-free diets
- Rice Krispies → gluten-free puffed rice - Nearly identical crunch, just check the label for certification
- Marshmallows → vegan marshmallows - Dandies brand melts smoothly, some others turn grainy
- Vanilla extract → almond extract - Use half the amount or it overpowers everything else
Stovetop Melting
Works for: Controlled heat, even melting, easy to monitor texture
Skip if: You need the fastest possible method or lack a heavy saucepan
Microwave Melting
Works for: Speed, minimal cleanup, when you're making multiple batches
Skip if: Your microwave heats unevenly or you forget to stir every 20 seconds
Instructions
The entire mixing process takes under 5 minutes once marshmallows melt, so have your cereal measured and pan prepped before you start. Rich mains need something to cut through, and tender rice recipe uses the same quick-fold technique to lock in moisture.
Prep your pan - Line a 9x13 inch baking pan with parchment paper and butter it thoroughly, getting into corners and up the sides so nothing sticks when you press the mixture in later.
Melt butter and marshmallows - Heat butter in a large saucepan over low heat until fully melted, add marshmallows, and stir constantly for 3-4 minutes until smooth with no lumps remaining.
Add vanilla and salt - Remove pan from heat, stir in vanilla extract and salt for 10 seconds until evenly distributed, working quickly before mixture starts to cool and thicken.
Fold in cereal - Dump all 6 cups of Rice Krispies into the marshmallow mixture and fold gently with a buttered spatula until every piece is coated, working fast so it doesn't set up before you finish.
Press and cool - Scrape mixture into prepared pan, press evenly with buttered hands or foil, and let cool at room temperature for 30-45 minutes before cutting into 12 squares with a sharp, buttered knife.
What to Serve With It
Rice Krispie Treats work as a standalone snack, but pairing them with something fresh or tangy balances the sweetness when you're serving a crowd. For a version that comes together quickly, easy caponata dinner nights build a full spread around simple no-bake treats like these.
| Side Dish | Prep | Why It Works | How to Serve |
|---|---|---|---|
| Fresh fruit slices | Easy | Juicy, tart fruit cuts through sticky-sweet marshmallow | Arrange strawberries, grapes, or apple slices on the side |
| Peanut butter dip | Easy | Adds protein and nutty richness to balance pure sugar | Serve warm peanut butter in a small bowl for dunking |
| Milk glass | Easy | Classic combo that softens chewy texture and clears palate | Pour cold milk and serve alongside treats |
| Mini sandwiches | Medium | Savory contrast makes sweet treats feel less like a sugar bomb | Offer turkey or ham sandwiches cut into quarters |
| Hot cocoa | Easy | Warm chocolate amplifies marshmallow flavor in cold weather | Heat cocoa and top with whipped cream or extra marshmallows |
Three ways to serve it:
- Party platter - Cut into small squares, arrange on a tray with fresh berries and pretzel rods for texture contrast
- Lunchbox treat - Wrap individual squares in wax paper and tuck into lunches with a cheese stick for protein
- Dessert bar - Set out plain treats with bowls of chocolate drizzle, caramel sauce, and chopped nuts for DIY toppings
Store and Reheat
Rice Krispie Treats stay fresh at room temperature for 2-3 days in an airtight container, but they dry out fast once exposed to air. The pork works best when it hits the table at the same time as the main - simple homemade pork timing lines up perfectly when you're prepping treats ahead for parties.
| Method | Time | Best For |
|---|---|---|
| 🌡️ Room Temp | 10 minutes | Frozen treats that need to soften before eating |
| 📦 Microwave | 10-15 seconds low power | Treats that dried out and need softening slightly |
For best results when storing:
- Layer with parchment - Place wax paper between stacked treats to prevent them from sticking together in storage
- Airtight only - Exposure to air dries them out within hours, turning chewy texture into hard, brittle squares
- Room temperature wins - Refrigerating makes treats rock-hard and changes the texture permanently
- Freeze for long-term - Wrap individual squares tightly in plastic wrap, then foil, and freeze up to 2 months
- Thaw before serving - Let frozen treats sit at room temperature 10 minutes so they soften to the right chewiness
Frequently Asked Questions
Yes, use 2 cups of fluff for every 10 oz of regular marshmallows. The mixture will be stickier and may take slightly longer to set at room temperature.
Keep them in an airtight container at room temperature for 2-3 days. Layer parchment paper between stacked treats to prevent sticking.
The marshmallows should be completely smooth with no white lumps remaining, and the mixture will pull away from the pan sides easily when you stir. This takes 3-4 minutes on low heat with constant stirring.
Soggy treats mean too much marshmallow or not enough cooking - bake them in a 250°F oven for 3-5 minutes to firm up. Dry treats happen from overmixing or too little marshmallow - add a small amount of melted butter and remix quickly.
Yes, keep the ratio of 3 tablespoons butter and 10 oz marshmallows per 6 cups of cereal. For half a batch, use an 8x8 inch pan instead of 9x13.
Rice Krispie Treats
Ingredients
Equipment
Method
- Line a 9x13 inch baking pan with parchment paper and butter it thoroughly, including corners and sides to prevent sticking.3 tablespoons butter
- Heat butter in a large saucepan over low heat until melted. Add marshmallows and stir constantly for 3-4 minutes until smooth and lump-free.3 tablespoons butter, 10 oz marshmallows
- Remove pan from heat. Stir in vanilla extract and salt for 10 seconds until evenly mixed, working quickly before mixture cools and thickens.1 teaspoon vanilla extract, 0.25 teaspoon salt
- Add all 6 cups of Rice Krispies cereal to the marshmallow mixture and fold gently with a buttered spatula until every piece is coated, working fast to prevent setting.6 cups Rice Krispies cereal
- Scrape the mixture into the prepared pan and press evenly with buttered hands or foil without compacting tightly. Let cool at room temperature for 30-45 minutes before cutting into 12 squares with a sharp, buttered knife.
Notes
- Melt marshmallows on low heat and stir constantly to avoid burning.
- Work quickly when folding in cereal, as mixture sets in about 30 seconds.
- Use a buttered knife to cut treats cleanly without tearing.