Most dips sit in the fridge for hours, bland and runny by the time guests arrive. The fix is proper layering-denser ingredients first, then lighter ones-so everything holds its shape without turning watery.
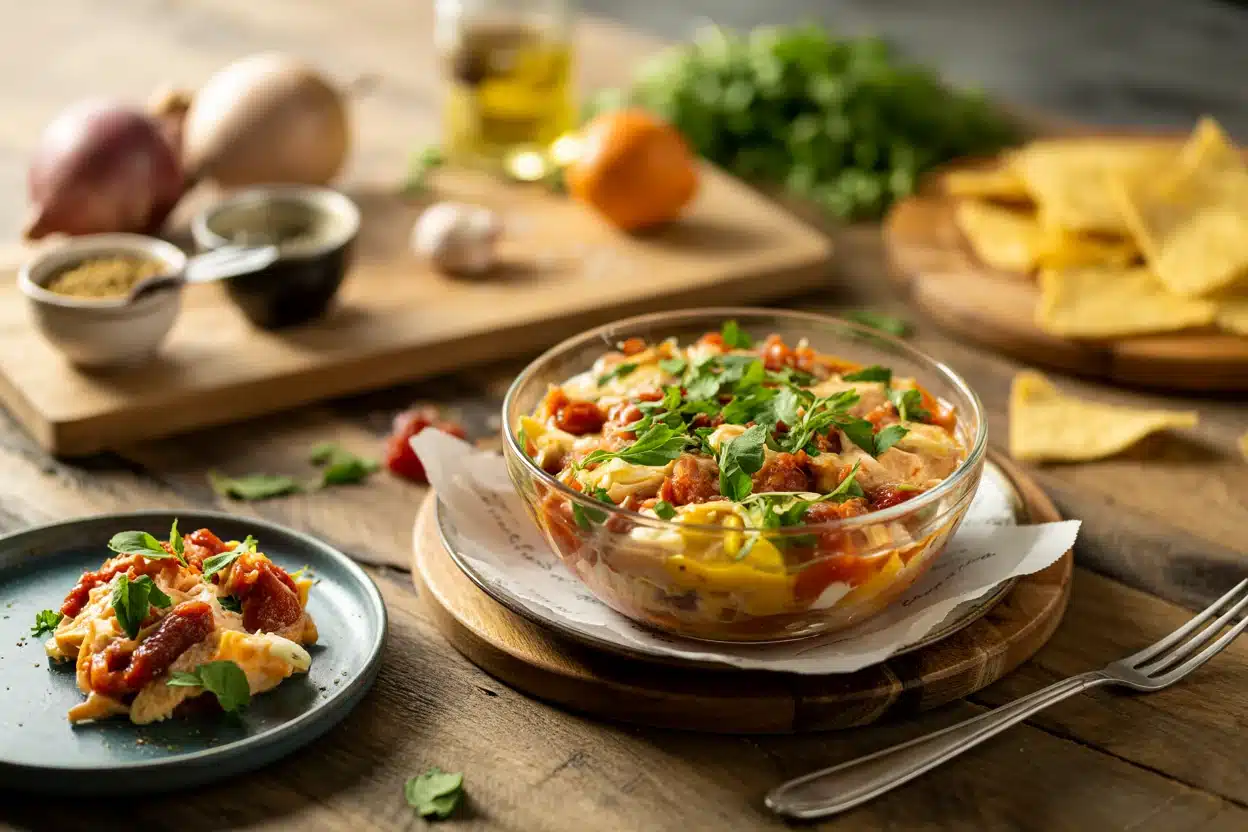
Chill it at least an hour before serving. The layers firm up and the flavors blend without losing the visual appeal of seven distinct stripes.
Make this for game day when you need something that feeds a crowd without last-minute fussing.
Seven layer dip stacks refried beans, sour cream, guacamole, salsa, cheese, olives, and green onions in a shallow dish. Each layer spreads about ¼-inch thick so you get all seven flavors in one scoop. Chill for at least an hour before serving to let the layers firm up and flavors meld without mixing together.
Why This Recipe Works
A good dip can make or break the plate. The dip works best when it hits the table at the same time as the main. For a version that comes together quickly, try this easy chicken recipe we keep ready for nights like this.
Remember it later
Planning to try this recipe soon? Save it for a quick find later!
Prep Time
15 min
Cook Time
0 min
Total Time
15 min + 1 hour chilling
Servings
8-10 servings
Difficulty
Easy
Category
Appetizer
Quick Tip
Layer chilled ingredients for best texture
Best For
Entertaining | Game day
The technique that makes this work:
- Layer denser ingredients first (beans, sour cream) so they support the lighter toppings without sliding
- Pat tomatoes dry with paper towel before adding-removes excess moisture that turns the whole dip watery
- Spread each layer about ¼-inch thick for balanced flavors in every scoop
- Use a glass or ceramic dish so the layers stay cold and you can see all seven stripes
- Add lime juice to guacamole to prevent browning and add tangy brightness that cuts through the richness
What You'll Need
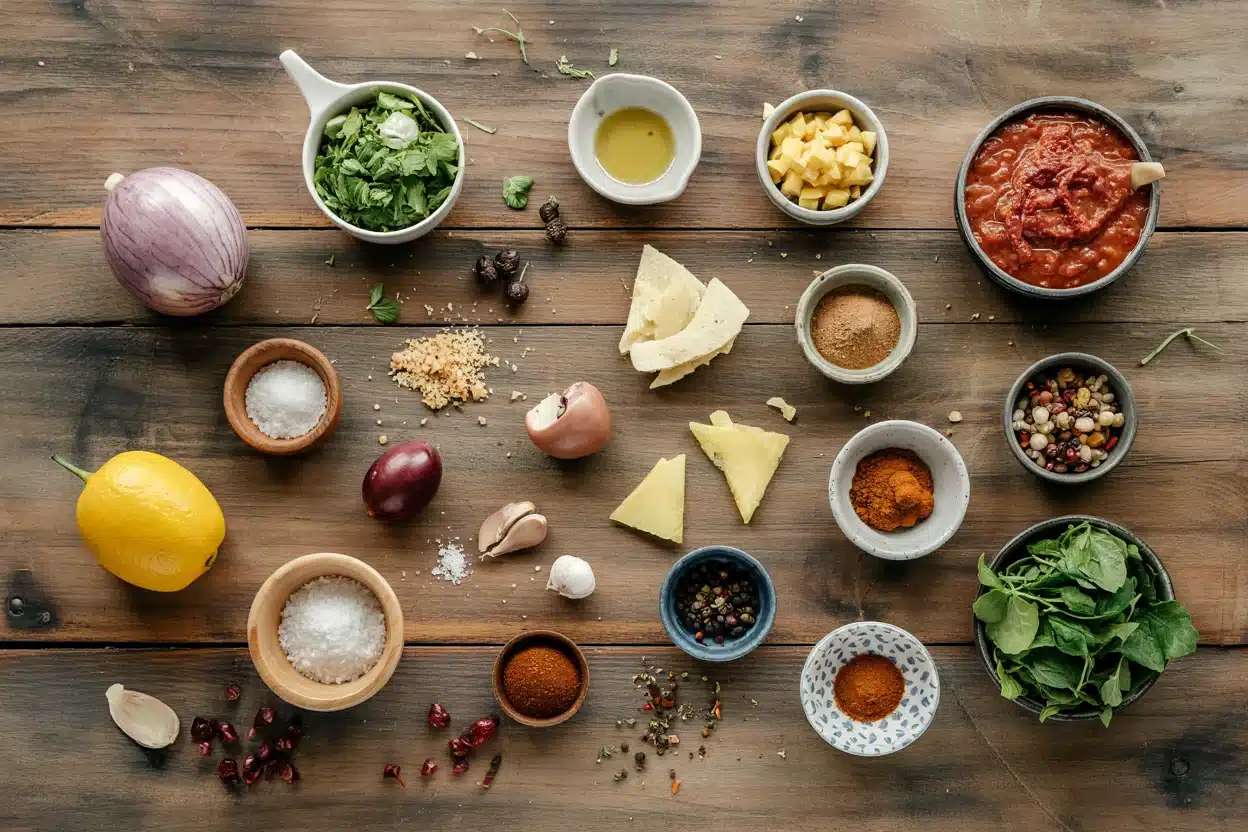
Beans adds the contrast this plate needs, but timing matters. Most people skip beans, but it balances the meal. For a version that comes together quickly, try quick nuts dish we keep ready for nights like this.
- 1 can (16 oz) refried beans
- 1 cup sour cream
- 1 cup guacamole
- 1½ cups shredded cheddar cheese
- 1 cup salsa
- ½ cup black olives, sliced
- ½ cup green onions, chopped
- ½ cup diced tomatoes
- ¼ cup jalapeños, sliced
- 1 teaspoon lime juice (for guacamole)
Ingredient Details
- Refried beans
Use canned for convenience-the creamy texture spreads easily and forms a stable base layer that doesn't collapse under toppings. - Sour cream
Full-fat holds its shape better than light versions-spread it thin so it doesn't overpower the other layers with tang. - Guacamole
Store-bought or homemade both work-mix in 1 teaspoon lime juice to prevent browning and add brightness. - Salsa
Choose chunky over smooth for texture contrast-drain excess liquid before layering to prevent sogginess. - Shredded cheddar cheese
Shred from a block instead of buying pre-shredded-the fresh cheese melts better and doesn't clump from anti-caking agents. - Black olives
Sliced from a can saves time-drain well and pat dry before sprinkling on top. - Green onions
Chop just before assembling for fresh crunch-wilted onions lose their snap and turn limp in the fridge.
Ingredient Swaps
Most people think you need exact ingredients, but flexibility matters when the pantry runs low. The rolls works best when it hits the table at the same time as the main. For a version that comes together quickly, try a warm rolls on the side we keep ready for nights like this.
Four swaps that work:
- Greek yogurt for sour cream - Tangier flavor and thinner texture, but cuts fat and adds protein without losing the creamy layer
- Mashed black beans for refried beans - Chunkier base with more texture contrast, works when you want a less smooth first layer
- Pico de gallo for salsa - Fresher flavor and chunkier bite, adds more visible tomato pieces instead of blended sauce
- Dairy-free shredded cheese for cheddar - Similar melty texture with different flavor, necessary for dairy-free versions without losing the cheese layer
Greek Yogurt
Works for: Lighter dip with tangy bite, lower calories
Skip if: You want traditional rich creaminess
Mashed Black Beans
Works for: More texture and fiber, budget-friendly
Skip if: You need smooth, spreadable base layer
Pico de Gallo
Works for: Fresh tomato chunks, brighter flavor
Skip if: Excess liquid makes dip watery
Instructions
Layering takes 15 minutes, then the fridge does the work. Chill time is non-negotiable-it's when the flavors blend and the layers firm enough to hold their shape when scooped.
Spread refried beans in bottom of shallow glass or ceramic dish. Use back of spoon to create even ¼-inch layer that covers entire bottom without gaps. The dense beans support everything stacked on top.
Layer sour cream over beans, spreading thin and even. Go edge to edge without mixing into bean layer-a thin layer (about ¼-inch) prevents the dip from tasting overly tangy.
Add guacamole as third layer, spreading gently to avoid mixing. Mix in 1 teaspoon lime juice first to prevent browning. Spread carefully so you don't drag sour cream into the guacamole.
Spoon salsa over guacamole, then sprinkle cheese evenly. Drain excess liquid from salsa before adding. Freshly shredded cheese distributes better than pre-shredded.
Top with black olives, green onions, diced tomatoes, and jalapeños if using. Pat tomatoes dry with paper towel first. Arrange toppings in sections or mix them-both work visually.
What to Serve With It
The dip needs sides that scoop easily without breaking. Sturdy chips and crunchy vegetables make every layer accessible. For more pairing options, check out weeknight baked potatoes meal ideas for planning your snack spread.
| Side Dish | Prep | Why It Works | How to Serve |
|---|---|---|---|
| Corn chips | Easy | Thick, sturdy chips scoop all seven layers without breaking | Arrange in bowl next to dip |
| Fresh veggie sticks | Easy | Adds fresh crunch and cuts through rich creamy layers | Slice celery, carrots, bell peppers |
| Pico de gallo | Easy | Extra fresh tomato flavor brightens the dip | Serve in small bowl on the side |
| Mini tostada shells | Easy | Creates individual servings for parties | Spoon dip onto each shell |
| Jalapeño cornbread | Medium | Spicy, savory bread complements Tex-Mex flavors | Slice into squares, serve warm |
Three ways to serve it:
- Game day spread: Set out thick tortilla chips, veggie sticks, and extra salsa in separate bowls around the dip for variety
- Party platter: Use mini tostada shells as individual servings-guests can top their own without double-dipping
- Casual gathering: Serve with jalapeño cornbread and margaritas for full Tex-Mex vibe
Store and Reheat
The dip lasts 3-4 days in the fridge if covered tightly. Lettuce and tomatoes wilt first, so add them fresh if remaking leftovers. For planning ahead, check out simple homemade pork for another make-ahead option.
| Method | Time | Best For |
|---|---|---|
| 🍳 Stovetop | N/A | Dip served chilled, no reheating needed |
| 📦 Microwave | 10-15 seconds | Warming single portion only (not recommended) |
| 🔥 Oven | N/A | Dip served chilled, no reheating needed |
For best results when storing:
- Cover tightly with plastic wrap pressed directly onto surface to prevent guacamole from browning
- Store in shallow airtight container in fridge for 3-4 days maximum
- Add fresh lettuce, tomatoes, and green onions when serving leftovers-the originals wilt in storage
- Scrape off any brown guacamole layer and add fresh dollop on top before serving again
- Do not freeze-the sour cream and guacamole separate and turn watery when thawed
Frequently Asked Questions
Yes, assemble the dip up to 4 hours ahead and keep it covered in the fridge. Chill for at least 1 hour before serving so the layers firm up and flavors meld without mixing together.
Cover tightly with plastic wrap pressed directly onto the surface and store in a shallow airtight container in the fridge for 3-4 days. Add fresh lettuce and tomatoes when serving leftovers since the originals wilt.
The dip is ready after chilling for at least 1 hour-the layers should be firm, cold to the touch, and hold their shape when you scoop with a chip. If it looks runny or slides apart, chill longer.
Watery tomatoes or runny guacamole seep into other layers-pat tomatoes dry with paper towel and drain salsa before adding. If already soggy, drain excess liquid and add a fresh layer of cheese and toppings on top.
Yes, Greek yogurt makes a tangier, thinner layer but works well for lighter dips. Dairy-free options like coconut yogurt substitute fine but check consistency-thin ones need mixing with a bit of cream cheese to hold their shape.
Seven Layer Dip
Ingredients
Method
- Spread the refried beans in the bottom of a shallow glass or ceramic dish, using the back of a spoon to create an even ¼-inch thick layer covering the entire bottom.16 oz refried beans
- Layer the sour cream over the beans, spreading a thin (about ¼-inch) even layer edge to edge without mixing into the beans.1 cup sour cream
- Mix the lime juice into the guacamole, then gently spread it evenly as the third layer on top of the sour cream, taking care not to mix the layers.1 cup guacamole, 1 tsp lime juice
- Spoon the drained salsa over the guacamole layer, then sprinkle the shredded cheddar cheese evenly over the salsa.1 cup salsa, 1.5 cups shredded cheddar cheese
- Top with black olives, green onions, diced tomatoes (pat dry first), and jalapeños if using. Arrange toppings in sections or mixed according to preference.0.5 cup black olives, 0.5 cup green onions, 0.5 cup diced tomatoes, 0.25 cup jalapeños
- Cover tightly with plastic wrap and chill in the refrigerator for at least 1 hour before serving to allow layers to firm up and flavors to meld.
Notes
- Pat tomatoes and olives dry to prevent watery, soggy layers.
- Use full-fat sour cream for best texture and flavor.
- Chill the dip for at least 1 hour to let layers firm up and blend flavors without mixing.