When you need a dessert that works for dinner parties or a weekend treat that feels intentional, chocolate pots de crème delivers. One batch, minimal hands-on time, and enough richness to make espresso or fresh berries feel like part of the plan.

Bake the custards in a water bath and they set into silky, smooth chocolate without cracks. The egg yolks and cream do all the texture work.
Perfect for formal entertaining or romantic dinners when you want something impressive without multi-step prep.
Chocolate pots de crème bake into silky, rich custards using egg yolks, heavy cream, and bittersweet chocolate. The water bath prevents curdling. Chill for at least 4 hours so the custard sets completely before serving.
Why This Recipe Works
The water bath keeps the oven temperature steady so the custard sets without curdling or cracking. Most people skip this because they think it's fussy, but it's the difference between silky texture and grainy disappointment. For a version that comes together quickly, simple bordeaux side dish uses similar techniques with different flavor profiles.
Remember it later
Planning to try this recipe soon? Save it for a quick find later!
Prep Time
15 min
Cook Time
35-40 min
Total Time
50-60 min plus chilling
Servings
6 servings
Difficulty
Medium
Category
Dessert
Quick Tip
Bake in water bath for smooth custard
Best For
Entertaining | Weekend dessert
What makes this work:
- Bittersweet chocolate (60-70% cocoa) provides deep flavor without excessive sweetness and sets the custard structure
- Tempering egg yolks by slowly whisking hot cream prevents scrambling and creates smooth texture
- Baking at 325°F in a water bath distributes heat evenly so custards set without cracking or curdling
- Chilling for at least 4 hours allows the custard to firm up completely and develop full chocolate flavor
- Straining the mixture before baking removes any lumps or air bubbles for a perfectly smooth finish
What You'll Need
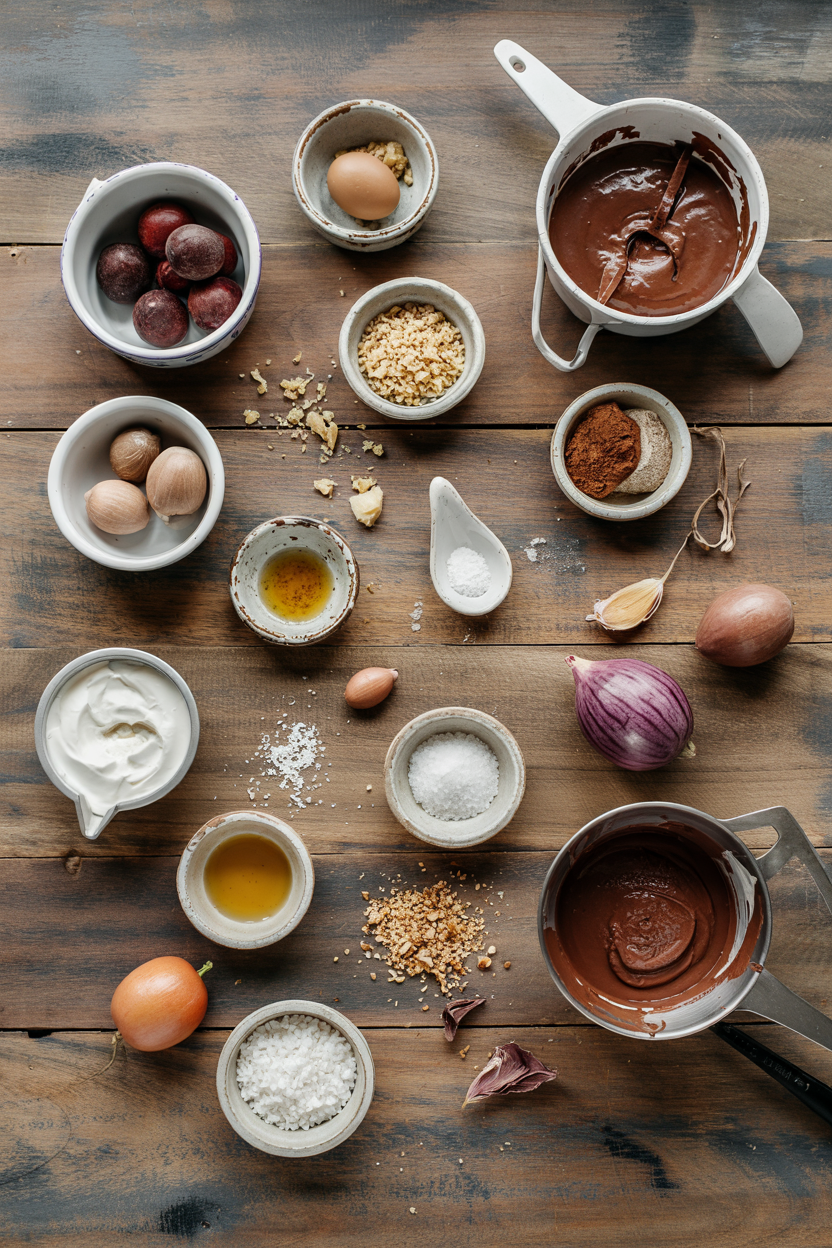
High-quality chocolate matters here because it's the star ingredient. Cheaper chocolate contains stabilizers that can make the custard grainy or dull-tasting.
- 6 oz bittersweet or semisweet chocolate (60-70% cocoa)
- 1 cup heavy cream
- ½ cup whole milk
- 5 large egg yolks
- ¼ cup granulated sugar
- 1 teaspoon vanilla extract
- Pinch of salt
Ingredient Details
- Bittersweet chocolate
Chop finely so it melts evenly when you add the hot cream - uneven pieces create lumps - Heavy cream
Full-fat cream is non-negotiable for silky texture - reduced-fat versions produce watery custard - Egg yolks
Use fresh eggs at room temperature so they temper more easily without curdling - Granulated sugar
Whisk thoroughly with egg yolks until pale and slightly thick before adding cream - Vanilla extract
Add after the custard mixture cools slightly to preserve the aromatic compounds - Salt
A small pinch enhances the chocolate flavor without making the custard taste salty - Water bath
Use hot tap water in the baking dish - it comes to temperature faster and keeps custards baking evenly
Ingredient Swaps
The chocolate type changes the sweetness level but not the technique. Most people reach for milk chocolate, but it makes the custard too sweet and doesn't set as firmly.
Common swaps:
- Heavy cream → coconut cream - dairy-free with subtle coconut flavor; texture stays creamy
- Granulated sugar → erythritol or monk fruit sweetener - cuts carbs for keto; slight cooling aftertaste
- Bittersweet chocolate → semisweet or milk chocolate - sweeter, less intense chocolate; reduce sugar by 1-2 tablespoons
- Whole milk → unsweetened almond milk - lighter, less creamy texture; dairy-free
Coconut cream
Works for: Dairy-free diets, tropical flavor pairing
Skip if: You want pure chocolate flavor without coconut notes
Milk chocolate
Works for: Sweeter palates, kid-friendly desserts
Skip if: You prefer deep, rich chocolate intensity
Almond milk
Works for: Dairy-free needs, cutting richness
Skip if: You want traditional silky, creamy texture
Instructions
The whole process takes about an hour of active time, then you wait while they chill. Tempering the eggs is the only tricky part - add the hot cream slowly and whisk constantly.
Melt the chocolate. Chop 6 oz bittersweet chocolate finely and place in a heatproof bowl. Heat 1 cup heavy cream and ½ cup whole milk in a saucepan over medium heat until it just begins to simmer (3-4 minutes). Pour the hot cream mixture over the chocolate and let it sit for 1 minute, then whisk until completely smooth.
Whisk the egg yolks. In a separate bowl, whisk 5 egg yolks with ¼ cup granulated sugar until pale yellow and slightly thick (about 2 minutes). This step aerates the yolks and dissolves the sugar.
Temper the eggs. Slowly pour about ¼ cup of the warm chocolate mixture into the egg yolks while whisking constantly. Add the rest of the chocolate mixture gradually, whisking continuously to prevent the eggs from scrambling. Stir in 1 teaspoon vanilla extract and a pinch of salt.
Strain and pour. Pour the custard through a fine-mesh sieve into a clean bowl to remove any lumps. Divide the mixture evenly among 6 ramekins (4-6 oz each). Place the ramekins in a deep baking dish and fill the dish with hot water until it reaches halfway up the sides of the ramekins.
Bake and chill. Bake at 325°F for 35-40 minutes until the edges are set but the centers still jiggle slightly when you gently shake the pan. Remove the ramekins from the water bath and let them cool to room temperature, then cover and chill for at least 4 hours or overnight.
What to Serve With It
Rich chocolate needs something bright or crunchy to balance it. The custard works best when you pair it with contrasting textures or tart flavors that cut through the richness.
| Side Dish | Prep | Why It Works | How to Serve |
|---|---|---|---|
| Whipped cream | Easy | Lightness contrasts rich custard | Dollop on top just before serving |
| Fresh raspberries | Easy | Tartness balances chocolate sweetness | Scatter 4-5 berries over each custard |
| Toasted hazelnuts | Easy | Crunch and nutty flavor add texture | Chop and sprinkle on top |
| Cocoa powder dusting | Easy | Enhances chocolate appearance and intensity | Dust lightly through a fine sieve |
| Shortbread cookies | Easy | Buttery crispness pairs with creamy custard | Serve 1-2 cookies on the side |
Three ways to serve it:
- For dinner parties: Top with candied orange peel and a drizzle of raspberry coulis for a restaurant-style presentation
- For romantic dinners: Serve with a small espresso shot on the side to intensify the chocolate experience
- For holiday meals: Add a sprinkle of sea salt flakes and a small sprig of fresh mint for visual contrast
Store and Reheat
Chocolate pots de crème store well in the fridge for 3-4 days when you cover each ramekin tightly with plastic wrap. The custard texture softens slightly over time but stays smooth.
| Method | Time | Best For |
|---|---|---|
| 🍳 Stovetop | Not recommended | Risks curdling custard |
| 📦 Microwave | 15-20 sec at 50% power | Quick warm-up with careful monitoring |
| 🔥 Oven | 10-12 min at 300°F | Gentle warming of chilled custards |
For best results when storing:
- Cover each ramekin individually with plastic wrap pressed directly onto the custard surface to prevent skin from forming
- Store ramekins upright in the fridge - tilting can cause uneven texture
- Bring custards to room temperature for 15-20 minutes before serving for softer mouthfeel
- Freeze custards up to 1 month in airtight containers, then thaw overnight in the fridge
- Add fresh toppings like whipped cream or berries right before serving, not during storage
Frequently Asked Questions
Yes, make them up to 3 days ahead and store covered in the fridge. The texture actually improves after chilling overnight as the custard sets completely and flavors meld.
Gently shake the baking dish - the edges should be set and the centers should jiggle like gelatin. If the whole custard is firm, it's overbaked and will turn grainy.
Fresh raspberries, whipped cream, toasted nuts, or shortbread cookies work well. The tartness or crunch balances the rich, creamy custard.
Yes, but reduce the sugar to 2-3 tablespoons since milk chocolate is already sweeter. The custard will be lighter in chocolate flavor and won't set as firmly.
Adding hot cream too fast scrambles the eggs. Temper slowly by whisking ¼ cup of hot cream into the yolks first, then add the rest gradually while whisking constantly.
Chocolate Pots de Crème
Ingredients
Equipment
Method
- Chop the bittersweet chocolate finely and place in a heatproof bowl. Heat the heavy cream and whole milk in a saucepan over medium heat until it just begins to simmer, about 3-4 minutes. Pour the hot cream mixture over the chocolate and let sit for 1 minute, then whisk until completely smooth.6 oz bittersweet chocolate, 1 cup heavy cream, 0.5 cup whole milk
- In a separate bowl, whisk the egg yolks and granulated sugar together until pale yellow and slightly thickened, about 2 minutes. This aerates the yolks and dissolves the sugar.5 large egg yolks, 0.25 cup granulated sugar
- Slowly pour about ¼ cup of the warm chocolate mixture into the egg yolks while whisking constantly. Gradually add the remaining chocolate mixture in a slow stream, whisking continuously to prevent the eggs from scrambling. Stir in the vanilla extract and a pinch of salt.6 oz bittersweet chocolate, 5 large egg yolks, 1 tsp vanilla extract, pinch salt
- Pour the custard through a fine-mesh sieve into a clean bowl to remove any lumps or air bubbles. Divide the mixture evenly among six 4-6 oz ramekins. Place the ramekins in a deep baking dish.
- Fill the baking dish with hot tap water until it reaches halfway up the sides of the ramekins. Bake the custards at 325°F (163°C) for 35-40 minutes until the edges are set but the centers jiggle slightly when shaken gently.
- Remove the ramekins from the water bath and let them cool to room temperature. Cover the ramekins and chill in the refrigerator for at least 4 hours or overnight to allow the custard to fully set and develop its flavor.
Notes
- Use high-quality bittersweet chocolate for best flavor and smooth custard texture.
- Temper the eggs slowly by whisking in hot cream gradually to avoid curdling.
- Chill custards for at least 4 hours to allow firm setting and flavor melding before serving.