Crispy golden skin that crackles when you cut into it, and tender meat that pulls away from the bone. That's what happens when you air fry Cornish hen at 375°F for 35 minutes.
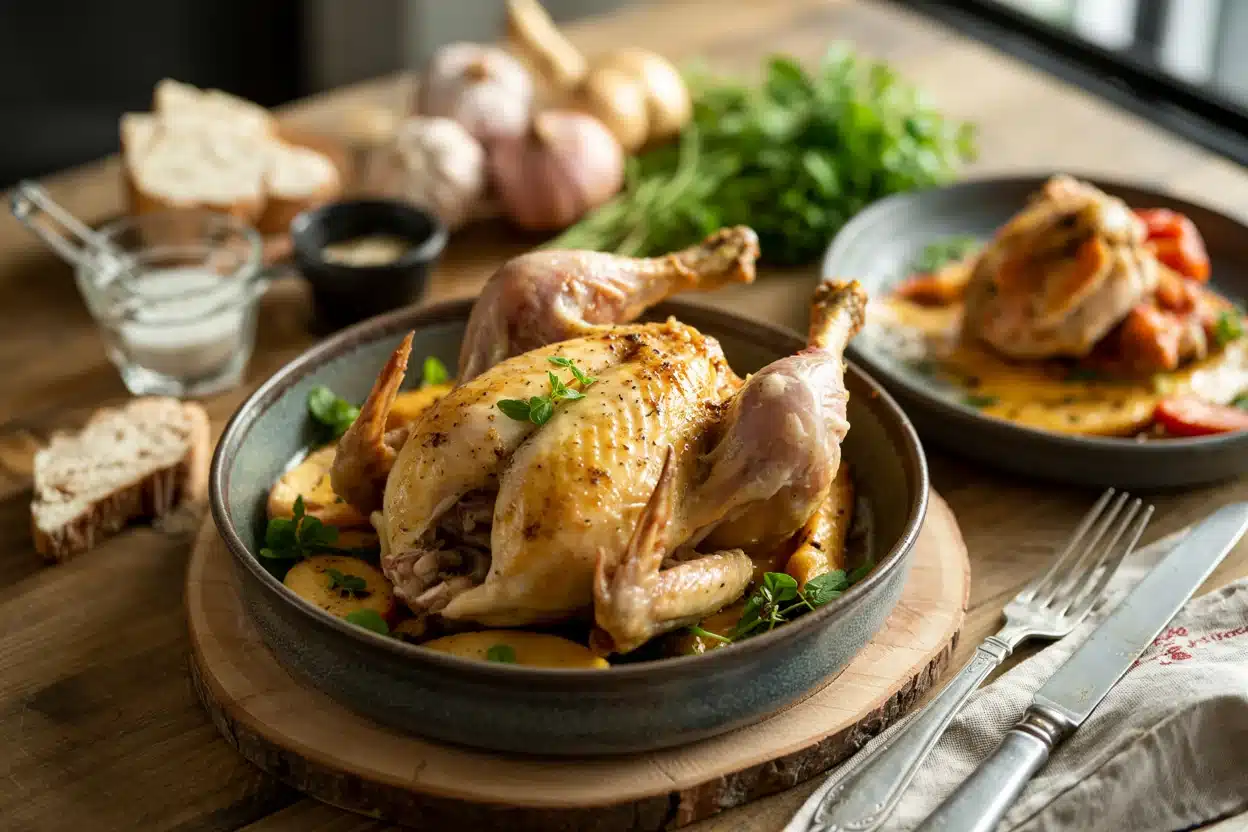
The air fryer does the hard work. You get restaurant-quality roast chicken without heating up the whole kitchen or babysitting a stovetop pan.
This works for weeknight dinners when you want something that looks impressive but doesn't require chef skills. Each hen cooks individually, so timing stays consistent whether you're cooking for one or four.
Air Fryer Cornish Hen delivers crispy skin and juicy meat in 45 minutes total. Dry skin before seasoning is the key to crispness, and flipping halfway through ensures even browning. The compact size fits most air fryers without crowding, and each hen serves one person perfectly for dinner parties or meal prep.
Why This Recipe Works
High heat circulates around the small bird and renders the fat while crisping the skin. For a version that comes together quickly, this simple homemade meatballs recipe uses the same temperature logic with different protein.
Remember it later
Planning to try this recipe soon? Save it for a quick find later!
Prep Time
10 min
Cook Time
35 min
Total Time
45 min
Servings
1 Cornish hen per person
Difficulty
Easy
Category
Main Dish
Quick Tip
Dry skin ensures crispy results
Best For
Weeknight | Entertaining
What makes this method work:
- Pat the skin dry for 5 minutes - removes surface moisture that would steam the skin instead of crisping it
- Brush 1 tablespoon oil evenly across all skin surfaces - promotes browning and helps seasoning stick without pooling
- Set temperature to 375°F and cook for 35 minutes - balances crispy exterior with juicy interior without drying out dark meat
- Flip hens at the 17-minute mark - ensures both sides brown evenly instead of one side staying pale
- Check internal temperature reaches 165°F in the thickest part of the thigh - guarantees safe doneness while avoiding the rubbery texture of overcooked poultry
What You'll Need
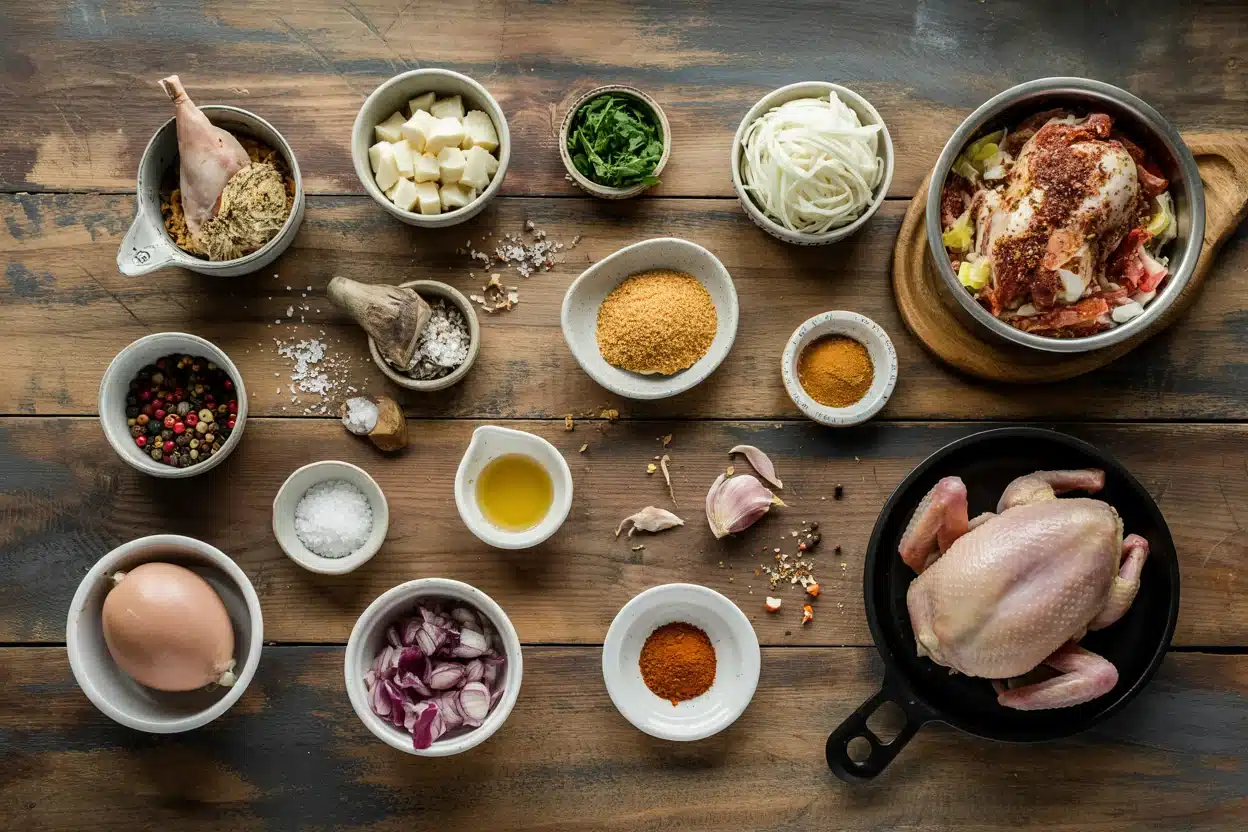
Most of these ingredients sit in your pantry already. A good hen can make or break the plate, so we keep a batch ready for nights like this - try a similar airfryer-side recipe when you want to use up what's already in the fridge.
- Cornish hen (1 per person, 1-1.5 lb each)
- Olive oil (1 tablespoon per hen)
- Salt (1 teaspoon per hen)
- Black pepper (½ teaspoon per hen)
- Garlic powder (½ teaspoon per hen)
- Paprika (½ teaspoon per hen)
- Fresh thyme or rosemary (2-3 sprigs, optional)
- Lemon (1 half, optional for cavity)
Ingredient Details
- Cornish hen
Look for hens between 1-1.5 pounds - larger birds won't fit most air fryer baskets and smaller ones dry out quickly - Olive oil
Brush on after drying skin - oil applied to wet skin slides off and pools in the basket instead of crisping - Salt
Kosher salt works best for even distribution - table salt clumps and creates salty spots instead of seasoning the whole bird - Garlic powder
Use powder instead of fresh minced garlic - fresh burns at air fryer temperatures and turns bitter - Paprika
Adds color more than flavor - smoked paprika gives deeper color and subtle smokiness if you have it - Fresh herbs
Tuck sprigs inside the cavity for aroma - herbs on the outside burn and turn black in the air fryer - Lemon half
Place inside cavity cut-side up to release steam and citrus oils - don't squeeze over skin or it prevents browning
Ingredient Swaps
Most swaps work if you understand what each ingredient does. Rich mains need something to cut through, and pork does exactly that, so for a version that comes together quickly, this smoky pork recipe uses similar seasoning logic with different timing.
Four swaps that work:
- Olive oil → Avocado oil - swap 1:1, higher smoke point means less chance of bitter flavors at 375°F
- Fresh herbs → Dried herbs - use 1 teaspoon dried per 3 sprigs fresh, adds herby flavor without the fresh aroma
- Paprika → Smoked paprika - swap 1:1, adds deeper color and subtle smoky note without changing texture
- Cornish hen → Small whole chicken (2-3 lb) - increase cook time to 50-60 minutes and check thigh temp hits 165°F, won't crisp as evenly
Butter instead of oil
Works for: Richer flavor and golden color if you're okay with slightly less crisp skin
Skip if: You want maximum crispness - butter's milk solids brown faster and can burn before skin fully crisps
Fresh minced garlic instead of powder
Works for: Stronger garlic punch if you add it in the last 5 minutes of cooking
Skip if: You're adding it at the start - fresh garlic burns at 375°F and turns bitter
Instructions
The entire cook happens in one basket with one flip halfway through. Beef adds the contrast this plate needs, but timing matters, so we keep a batch ready for nights like this - check out this rich homemade beef recipe if you're planning tomorrow's meal now.
Pat the Cornish hen completely dry with paper towels, inside and out. Spend a full minute on this - any moisture left on the skin will steam instead of crisp. Let it sit at room temperature for 10 minutes while you prep seasonings.
Brush 1 tablespoon olive oil evenly over all skin surfaces. Use your hands or a pastry brush to coat the breast, thighs, wings, and back. Don't pour oil directly on the bird - it pools in the cavity and doesn't help with crisping.
Mix salt, black pepper, garlic powder, and paprika in a small bowl, then rub the seasoning blend all over the oiled skin. Press gently so the spices stick to the oil. If using fresh herbs or lemon, tuck them inside the cavity now.
Place the hen breast-side down in the air fryer basket and cook at 375°F for 17 minutes. Don't preheat the air fryer - starting in a cold basket helps render fat gradually. Leave 1-2 inches of space if cooking multiple hens.
Flip the hen breast-side up using tongs and cook for 18 more minutes until skin is golden and crispy. Insert a meat thermometer into the thickest part of the thigh - it should read 165°F. Let rest for 5-10 minutes loosely tented with foil before carving.
What to Serve With It
One hen per person leaves room on the plate for sides that balance richness with freshness. The rice works best when it hits the table at the same time as the main, and for complete pulled beef meal ideas that follow the same pairing logic, check that guide when planning your next dinner.
| Side Dish | Prep | Why It Works | How to Serve |
|---|---|---|---|
| Garlic roasted potatoes | Easy | Starchy base soaks up pan juices, mild garlic complements herby hen | Roast at 400°F for 30 min, toss with chopped parsley |
| Simple green salad | Easy | Fresh crunch and acidity cut through rich crispy skin | Toss mixed greens with lemon vinaigrette, serve chilled |
| Steamed green beans | Easy | Light vegetable balances heavy protein without competing | Steam 5 min, toss with butter and salt |
| Wild rice pilaf | Medium | Nutty texture and elegant look match presentation of whole hen | Cook with chicken broth, fold in toasted pecans |
| Roasted root vegetables | Easy | Caramelized sweetness pairs with savory seasoning on hen | Roast carrots and parsnips at 400°F for 25 min |
Three ways to serve it:
- Weeknight plate: Serve hen over garlic roasted potatoes with steamed green beans on the side - the starch soaks up juices and greens add freshness
- Dinner party presentation: Pair with wild rice pilaf and roasted root vegetables - the nutty rice and caramelized vegetables match the crispy skin
- With sauce: Drizzle garlic lemon butter sauce or spicy honey mustard over sliced hen - both add moisture and punch up the seasoning
Store and Reheat
Leftover hen stays juicy for 3-4 days if you store it right. Most people skip shrimp, but it balances the meal, and for a version that comes together quickly, we keep a batch ready for nights like this - try this tender shrimp recipe when planning tomorrow's dinner.
| Method | Time | Best For |
|---|---|---|
| 🍳 Stovetop | 5-7 minutes over medium heat | Sliced portions when you want to restore crispy skin quickly |
| 🔥 Oven | 10 min at 350°F | Whole or half hen when you want even reheating and skin stays crisp |
| 📦 Microwave | 1-2 minutes on medium power | Small portions when speed matters more than texture - skin won't crisp |
For best results when storing:
- Cool completely before refrigerating - hot hen creates condensation in the container that makes skin soggy
- Store in shallow airtight container - glass or plastic works, but shallow depth prevents bottom pieces from steaming
- Separate meat from bones before freezing - whole hen takes up too much freezer space and thaws unevenly
- Reheat skin-side up in oven or air fryer - direct heat from above re-crisps skin instead of steaming it
- Add a tablespoon of water to the reheating container - creates steam that keeps meat moist without touching skin directly
Frequently Asked Questions
Cook for 35 minutes total - 17 minutes breast-side down, then flip and cook 18 minutes breast-side up. Check that internal temperature reaches 165°F in the thickest part of the thigh before serving.
Cook it fully, let it cool, then refrigerate for up to 3 days. Reheat in the oven at 350°F for 10 minutes to restore crispy skin - microwave makes it rubbery.
Garlic roasted potatoes, wild rice pilaf, steamed green beans, or simple green salad work best. Pick starchy sides that soak up juices and fresh vegetables that cut through richness.
Insert a meat thermometer into the thickest part of the thigh without touching bone - it should read 165°F. The juices should run clear, not pink, when you cut between the leg and breast.
No - thaw it completely in the fridge for 24 hours first. Frozen hen cooks unevenly, with burnt skin and raw interior, and won't reach safe temperature without overcooking the outside.
Air Fryer Cornish Hen
Ingredients
Method
- Pat the Cornish hen completely dry with paper towels, inside and out. Spend a full minute on this to remove surface moisture that would steam the skin. Let the hen sit at room temperature for 10 minutes while you prepare seasonings.1 hen Cornish hen
- Brush 1 tablespoon olive oil evenly over all skin surfaces, including breast, thighs, wings, and back. Avoid pouring oil directly on the hen to prevent pooling in the cavity.1 tablespoon olive oil
- Mix salt, black pepper, garlic powder, and paprika in a small bowl. Rub the seasoning blend all over the oiled skin, pressing gently to help the spices stick. If using fresh herbs or lemon, tuck them inside the cavity now.1 teaspoon salt, 0.5 teaspoon black pepper, 0.5 teaspoon garlic powder, 0.5 teaspoon paprika, 2 sprigs fresh thyme or rosemary, 0.5 lemon lemon half
- Place the hen breast-side down in the air fryer basket. Cook at 375°F for 17 minutes. Do not preheat the air fryer; starting in a cold basket allows gradual fat rendering. Leave 1-2 inches of space if cooking multiple hens to avoid crowds that cause steaming.
- Flip the hen breast-side up using tongs and cook for an additional 18 minutes until the skin is golden and crispy. Check the internal temperature in the thickest part of the thigh; it should reach 165°F. Let rest loosely tented with foil for 5-10 minutes before carving.
Notes
- Patting skin dry before seasoning is essential for crispy skin.
- Flip the hen at 17 minutes for even browning on both sides.
- Ensure internal temperature hits 165°F to guarantee safe and juicy poultry.