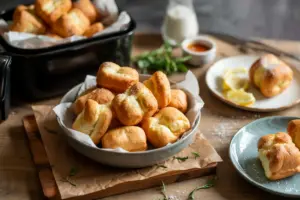
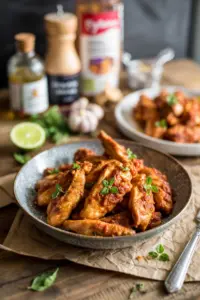
When you need a restaurant-quality dinner that doesn't require an hour of hands-on work, air fryer chicken Kiev delivers. Crispy breading seals in herbed garlic butter while the air fryer crisps the coating without deep frying.

The air fryer handles the temperature control while you prep sides. You get golden breading and juicy chicken in 35 minutes from start to finish.
This works for weeknight dinners when you want something more elevated than plain chicken, or for meal prep when you need portions that reheat well.
Stuffed chicken breasts coated in crispy breadcrumbs cook in the air fryer at 360°F for 14-16 minutes. Cold butter stays inside when you chill the logs before wrapping. The key is pounding chicken to even ¼-inch thickness so the coating browns at the same rate the meat cooks through.
Why This Recipe Works
The air fryer circulates hot air around the breaded chicken to crisp the coating without submerging it in oil. Rich mains need something to cut through, and soft buttery dinner bread does exactly that.
Remember it later
Planning to try this recipe soon? Save it for a quick find later!
Prep Time
20 min
Cook Time
15 min
Total Time
35 min
Servings
4 servings
Difficulty
Medium
Category
Main Dish
Quick Tip
Chill butter logs before wrapping chicken
Best For
Weeknight | Meal prep | Entertaining
What makes this work:
- Compound butter - garlic and fresh parsley mix into softened butter, then chill into firm logs that stay solid during breading
- Triple breading sequence - flour dries the surface so egg sticks, then breadcrumbs adhere to the egg for a coating that doesn't peel off
- Even thickness - pounding chicken breasts to ¼ inch means the center cooks through exactly when the breading turns golden
- 360°F air fryer temperature - hot enough to crisp breadcrumbs but not so hot the coating burns before the chicken reaches 165°F internally
- Flip halfway through - turning at the 7-minute mark ensures both sides brown evenly without gaps in the coating
What You'll Need
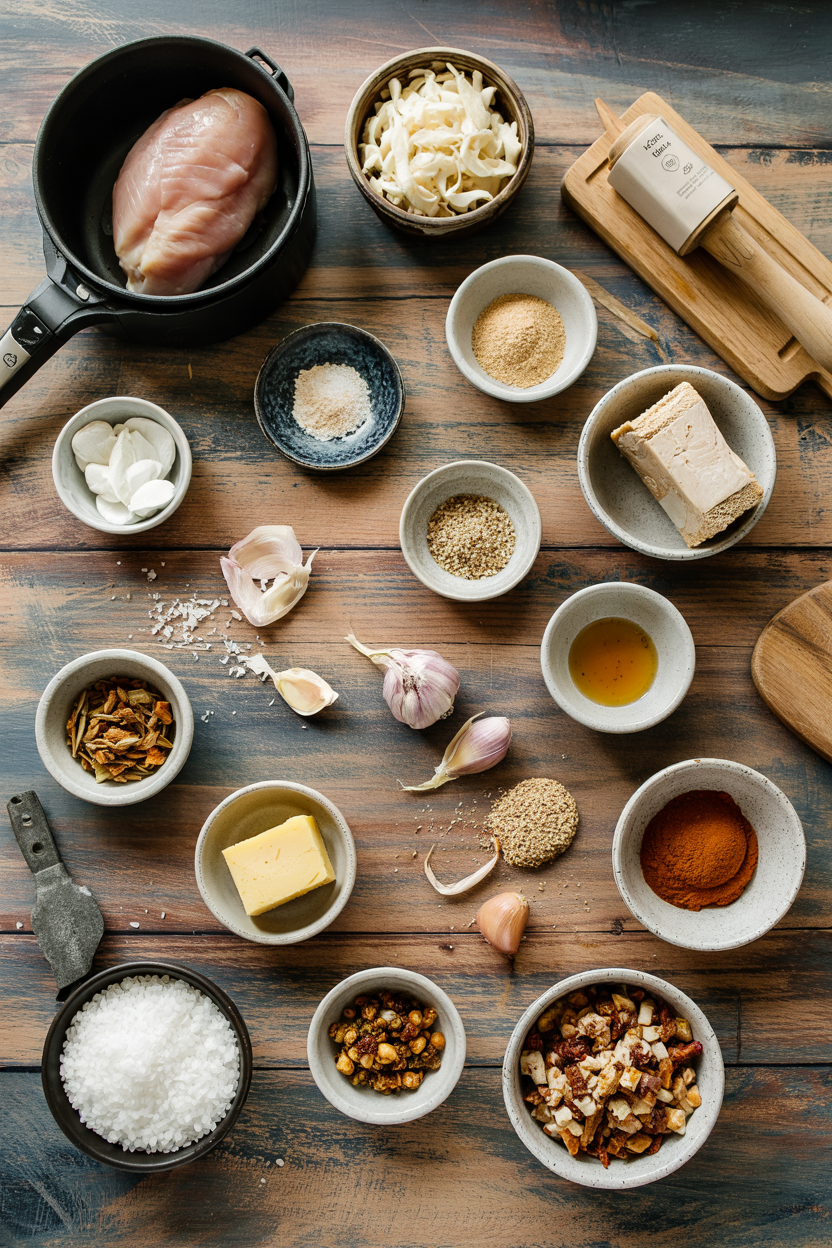
Shopping for chicken Kiev means buying fresh chicken breasts and unsalted butter, then grabbing pantry staples you likely have. Most people skip this easy chicken recipe, but it balances the meal.
- 4 boneless skinless chicken breasts (6 oz each)
- 2 large eggs
- ½ cup unsalted butter, softened
- 3 cloves garlic, minced
- 3 tablespoons fresh parsley, chopped
- 1 cup all-purpose flour
- 1 ½ cups breadcrumbs (or panko)
- 1 teaspoon salt
- ½ teaspoon black pepper
- 1 tablespoon lemon juice (optional)
Ingredient Details
- Chicken breasts
Pick breasts roughly the same size so they cook at the same rate-uneven pieces mean some dry out while others stay undercooked - Unsalted butter
Soften at room temperature for 30 minutes so it mixes with garlic and parsley without clumps, then chill the compound butter until firm - Breadcrumbs
Regular breadcrumbs create a tighter seal, panko makes a crunchier coating-both work but panko needs firmer pressing to adhere - All-purpose flour
The flour layer pulls moisture off the chicken surface so the egg coating sticks instead of sliding off during air frying - Eggs
Whisk eggs completely until no streaks remain-unwhisked eggs create thin spots in the coating where breadcrumbs fall off - Fresh parsley
Chop parsley fine so it distributes evenly through the butter-large chunks create gaps where the butter doesn't seal the chicken - Garlic
Mince garlic instead of using a press for compound butter-pressed garlic releases more moisture that can make the butter mixture too soft
Ingredient Swaps
The base recipe uses standard breading components, but you can swap for dietary needs or different textures. For a version that comes together quickly, homemade potato wedges recipe pairs with the main while you prep the butter logs.
Four practical swaps:
- Unsalted butter → dairy-free margarine - use stick margarine (not tub spread) so it firms up when chilled; flavor is slightly less rich but the technique stays the same
- All-purpose flour → gluten-free flour blend - any 1:1 baking blend works for the first breading layer; coating may be slightly grainier but still crisps properly
- Breadcrumbs → crushed cornflakes or gluten-free breadcrumbs - cornflakes create extra crunch; gluten-free breadcrumbs work for celiac diets without changing the method
- Chicken breasts → chicken thighs - thighs stay juicier but irregular shape makes even pounding harder; expect 2-3 minutes longer cook time
Regular breadcrumbs
Works for: tight seal, classic texture, even browning
Skip if: you want maximum crunch or gluten-free option
Panko breadcrumbs
Works for: extra crispy coating, light texture, dramatic crunch
Skip if: you prefer traditional Kiev texture or need finer crumbs
Crushed cornflakes
Works for: gluten-free diets, crunchiest coating, holds up to reheating
Skip if: you want classic breading or softer texture
Instructions
The entire process takes 35 minutes including chilling time for the butter. Chicken adds the contrast this plate needs, but timing matters.
Mix and chill compound butter - combine softened butter with minced garlic, chopped parsley, salt, pepper, and lemon juice in a bowl; divide into 4 equal portions and shape into logs; wrap each in plastic wrap and freeze for 15 minutes until firm (butter must be cold or it melts during cooking)
Pound and stuff chicken - place chicken breasts between plastic wrap or parchment paper; pound with meat mallet or rolling pin to even ¼-inch thickness; place one chilled butter log in the center of each breast; fold chicken around butter and seal edges by pressing firmly (gaps let butter leak out)
Set up breading station - arrange three shallow bowls: one with flour, one with whisked eggs, one with breadcrumbs mixed with salt and pepper; coat each stuffed chicken piece in flour (shake off excess), dip in egg (let excess drip), then press into breadcrumbs until fully covered
Air fry at 360°F - place breaded chicken in air fryer basket in single layer with ½ inch space between pieces; cook 14-16 minutes, flipping at 7-minute mark; chicken is done when internal temperature reaches 165°F on instant-read thermometer and coating is golden brown
Rest before slicing - transfer cooked chicken Kiev to plate and rest 5 minutes before cutting; resting lets butter redistribute and coating set so it doesn't fall off when you cut into it
What to Serve With It
Rich chicken Kiev needs sides that balance the buttery filling without adding more heaviness. For more ways to round out the plate, bbq chicken meal planning ideas covers timing and pairing strategies that work here too.
| Side Dish | Prep | Why It Works | How to Serve |
|---|---|---|---|
| Steamed green beans | Easy | Light texture cuts through rich butter without competing for attention | Toss with lemon zest while chicken rests |
| Mashed potatoes | Easy | Classic comfort pairing soaks up garlic butter that leaks onto plate | Make while chicken cooks, keep warm covered |
| Simple garden salad | Easy | Acidity from vinaigrette balances richness and adds fresh crunch | Dress just before serving so greens stay crisp |
| Roasted carrots | Medium | Natural sweetness complements garlic without adding more fat | Roast at 400°F while chicken preps, finish together |
| Buttery garlic rice | Easy | Absorbs butter that escapes during cutting, matches garlic flavor | Start rice first, keep warm until chicken finishes |
Three ways to serve it:
- Weeknight plate - pair with steamed green beans and a simple garden salad for a balanced meal that doesn't require multiple pans
- Comfort dinner - serve over mashed potatoes with roasted carrots for a classic meat-and-potatoes approach that works for family meals
- Entertaining option - add a creamy mushroom sauce on the side and warm crusty bread for mopping up extra garlic butter
Store and Reheat
Leftover chicken Kiev keeps for 3-4 days in the fridge when stored properly in shallow airtight containers. A good side dish can make or break the plate, and a fresh salad on the side does exactly that.
| Method | Time | Best For |
|---|---|---|
| 🔥 Oven | 10 min at 375°F | Restores crispy coating evenly without drying out the chicken |
| 🍳 Air Fryer | 3-5 min at 350°F | Quickest way to crisp coating back up without overcooking chicken |
| 📦 Microwave | 1-2 min at 50% power | Fast reheating when coating texture doesn't matter and you need lunch now |
For best results when storing:
- Cool completely before storing - hot chicken creates condensation in sealed containers that makes the breading soggy within hours
- Use shallow containers - stack no more than two pieces per container so weight doesn't compress the coating and make it dense
- Separate chicken and sides - storing chicken Kiev with wet sides like salad transfers moisture and ruins the crispy coating
- Freeze before frying option - assemble breaded chicken, freeze on sheet pan until solid, then transfer to freezer bags for up to 1 month; cook from frozen adding 5 minutes to air fryer time
- Reheat from fridge not counter - letting chicken sit at room temperature before reheating risks bacterial growth in the butter filling
Frequently Asked Questions
Thaw chicken completely in the fridge before using-frozen or partially frozen breasts won't pound to even thickness and the center stays cold while the coating burns. Pat thawed chicken very dry with paper towels since defrosting releases extra moisture that makes breading slide off.
Store in shallow airtight containers in the fridge for 3-4 days. Reheat in the air fryer at 350°F for 3-5 minutes to restore crispy coating, or use the oven at 375°F for 10 minutes if reheating multiple pieces at once.
Insert an instant-read thermometer into the thickest part of the chicken (not into the butter pocket)-it should read 165°F. The coating will be golden brown and crispy when the chicken reaches safe temperature if you cooked at 360°F.
Make sure butter logs are frozen firm before wrapping and seal chicken edges tightly by pressing with your fingers. If butter still leaks, add a second layer of breadcrumbs after the first coating and chill the breaded chicken for 10 minutes before air frying.
Yes-assemble breaded chicken completely, freeze on a sheet pan until solid, then transfer to freezer bags for up to 1 month. Cook from frozen in the air fryer at 360°F for 19-21 minutes, flipping halfway, checking internal temperature reaches 165°F.
Air Fryer Chicken Kiev
Ingredients
Equipment
Method
- Combine softened butter with minced garlic, chopped parsley, salt, pepper, and optional lemon juice in a bowl. Divide into four equal portions, shape into logs, wrap each in plastic wrap, and freeze for 15 minutes until firm.0.5 cup unsalted butter, 3 cloves garlic, 3 tablespoons fresh parsley, 1 teaspoon salt, 0.5 teaspoon black pepper, 1 tablespoon lemon juice
- Place chicken breasts between plastic wrap or parchment paper and pound with a meat mallet or rolling pin to even ¼-inch thickness. Place one chilled butter log in the center of each breast, fold chicken around butter and seal edges firmly to prevent leaks.4 pieces chicken breasts
- Arrange three shallow bowls: one with flour, one with whisked eggs, and one with breadcrumbs mixed with salt and pepper. Coat each stuffed chicken piece in flour shaking off excess, dip in eggs letting excess drip, then press into breadcrumbs until fully covered.1 cup all-purpose flour, 2 large eggs, 1.5 cups breadcrumbs, 1 teaspoon salt, 0.5 teaspoon black pepper
- Place breaded chicken in a single layer in the air fryer basket with ½ inch spacing. Air fry at 360°F for 14 to 16 minutes, flipping at the 7-minute mark. Confirm chicken is cooked when the internal temperature reaches 165°F and coating is golden brown.4 pieces chicken breasts
- Transfer cooked chicken Kiev to a plate and rest for 5 minutes before slicing. Resting allows the butter to redistribute and the coating to set, preventing cracking or peeling when cut.
Notes
- Chill butter logs until firm to prevent butter leakage during cooking.
- Pound chicken breasts evenly to ¼ inch thickness for uniform cooking and browning.
- Rest chicken after cooking to keep coating intact and retain juicy filling.