Crispy coating that sticks to every peanut without clumping. That happens when you fry raw peanuts in a spiced gram flour batter at exactly 350°F.
The oil temperature does all the work. Too cool and the coating absorbs grease. Too hot and the outside burns before the inside cooks.
Make these for evening snacks when you want something that keeps for days and travels well.
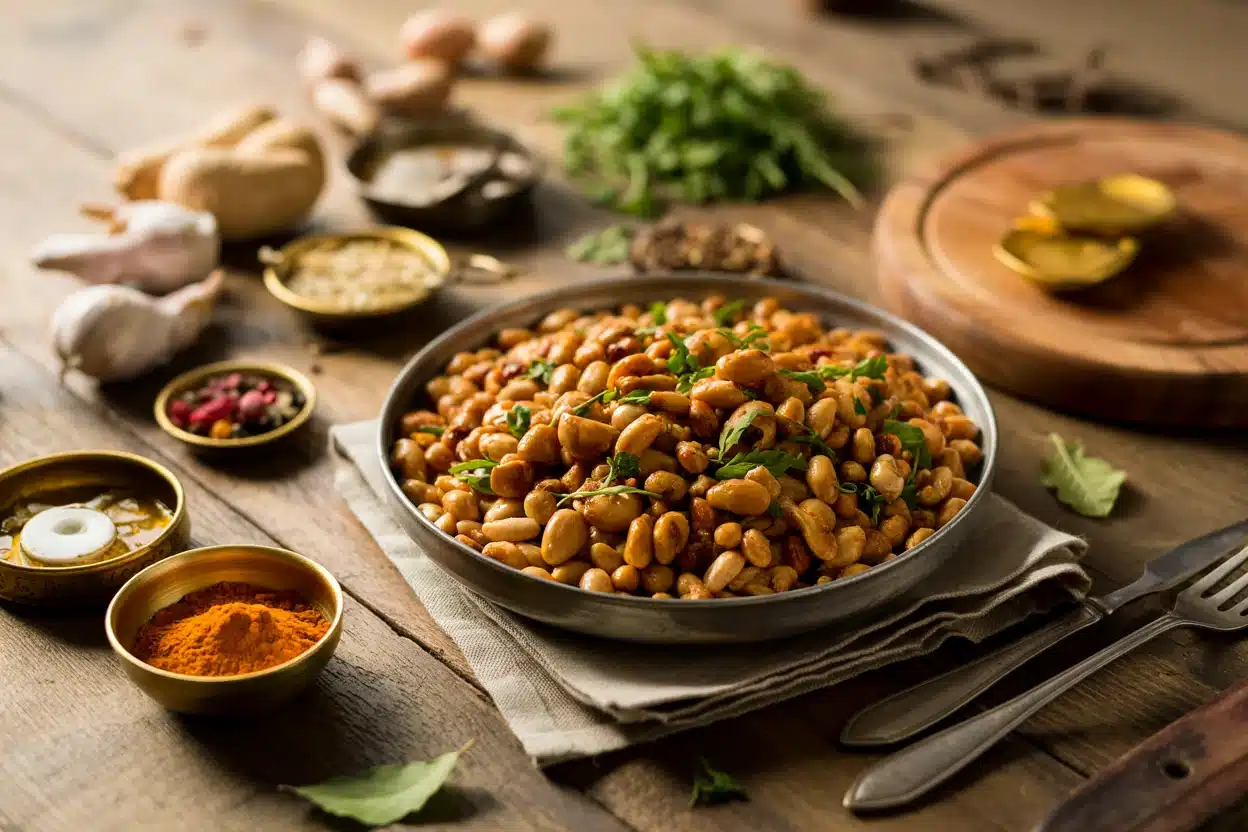
Masala peanuts are raw peanuts coated in spiced gram flour batter and fried until golden and crispy. The key is maintaining 350°F oil temperature and using a thin batter so the coating crisps without staying raw. Make them ahead for parties or keep them on hand for weeknight snacking.
Why This Recipe Works
Gram flour creates a crispy shell that doesn't peel off when it cools. For a version that comes together quickly, a simple snack variation uses similar frying techniques with sweet flavors instead.
Remember it later
Planning to try this recipe soon? Save it for a quick find later!
Prep Time
15 min
Cook Time
10-15 min
Total Time
30 min
Servings
4 servings
Difficulty
Easy
Category
Appetizer
Quick Tip
Fry at 350°F for crispy, non-greasy peanuts
Best For
Weeknight | Entertaining | Snack
Five reasons this works:
- Raw peanuts roast evenly - Pre-roasted nuts burn before the coating crisps
- Gram flour sticks better than regular flour - The protein content creates a batter that clings and doesn't slide off
- Thin batter crisps faster - Thick coating stays gummy inside even when the outside looks done
- Small batches keep oil temperature steady - Frying more than 1 cup at once drops the heat and makes soggy peanuts
- Wire rack draining removes excess oil - Paper towels alone trap steam and soften the coating
What You'll Need
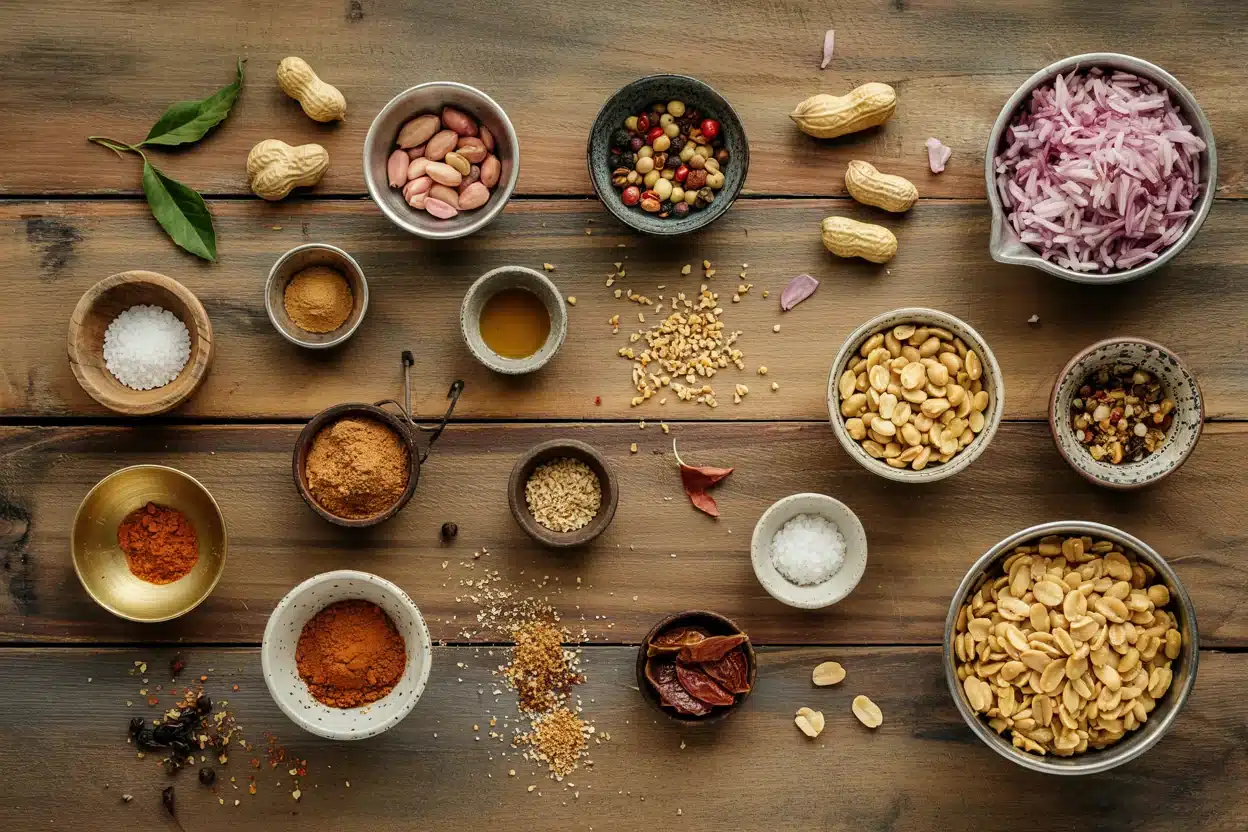
Raw peanuts work best because they roast at the same rate as the coating sets. Rich mains need something to cut through, and snack does exactly that. For a version that comes together quickly, this tender platter balances crunchy elements with fresh vegetables.
- 2 cups raw peanuts
- ½ cup gram flour (besan)
- ¼ cup water
- 2 teaspoon vegetable oil
- 1 teaspoon red chili powder
- ½ teaspoon turmeric
- ½ teaspoon garam masala
- 1 teaspoon salt
- 1 teaspoon chaat masala (optional)
- Pinch asafoetida (optional)
- Oil for deep frying (2-3 cups)
- Curry leaves (optional)
Ingredient Details
- Raw peanuts
Buy raw peanuts with skin on for better coating adhesion; skinless work but coating slides more - Gram flour (besan)
Sift before using to remove lumps; fresh flour within 3 months gives better flavor - Red chili powder
Use Kashmiri chili powder for color with mild heat or cayenne for sharper spice - Vegetable oil
Neutral oils like canola or sunflower work best; mustard oil adds pungent flavor if you prefer - Turmeric
Fresh ground turmeric within 6 months gives bright yellow color; old turmeric tastes bitter - Salt
Mix into batter rather than sprinkling after for even seasoning throughout coating - Chaat masala
Sprinkle while peanuts are still warm for tanginess; skip if serving to guests who dislike sour flavors
Ingredient Swaps
Swaps change texture and flavor but still give you crispy spiced peanuts. Most people skip beef, but it balances the meal. For a version that comes together quickly, simple homemade beef pairs well with crunchy snacks at the table.
Four swaps that work:
- Dry roasted peanuts instead of raw - Fry for only 2 minutes since nuts are already cooked; watch closely to prevent burning
- Rice flour instead of gram flour - Creates lighter, crispier coating but less binding power; add 1 teaspoon cornstarch to help it stick
- Smoked paprika instead of red chili powder - Milder heat with smoky depth; use same amount but expect less spice kick
- Oven baking instead of deep frying - Bake at 375°F for 20-25 minutes, tossing every 8 minutes; less oily but coating won't crisp as much
Deep Frying
Works for: Traditional crispy texture, faster cooking, golden color
Skip if: Avoiding oil, don't have deep pot or thermometer
Oven Baking
Works for: Lower oil content, hands-off cooking, batch cooking
Skip if: Want maximum crispiness, need traditional texture
Instructions
The coating sets in 3-4 minutes at 350°F. The chicken works best when it hits the table at the same time as the main. For a version that comes together quickly, this quick chicken dish uses similar spice profiles for cohesive flavors.
Mix the batter - Whisk gram flour, red chili powder, turmeric, garam masala, and salt in a bowl. Add water slowly while stirring until batter drips smoothly off spoon like pancake batter. Stir in 2 teaspoon oil.
Coat the peanuts - Add raw peanuts to batter and mix with spoon until every peanut has thin even coating. Let sit 5 minutes so flour absorbs moisture.
Heat the oil - Pour 2-3 inches oil into deep kadhai or pot. Heat to 350°F on thermometer. Test with one peanut - it should sizzle immediately and rise to surface.
Fry in batches - Add 1 cup coated peanuts using slotted spoon. Stir gently every 45 seconds. Fry 3-4 minutes total until golden brown and coating looks dry.
Drain and cool - Remove with slotted spoon and spread on wire rack. Let drain 5 minutes. Sprinkle with chaat masala while warm if using. Cool completely before storing.
What to Serve With It
Masala peanuts need something cooling to balance the spice. A good stew can make or break the plate. For planning your orzo salad dinner, healthy veggie main dishes shows how to round out snack-based meals.
| Side Dish | Prep | Why It Works | How to Serve |
|---|---|---|---|
| Masala chai | Easy | Hot spiced tea balances salty crunch | Serve alongside in small cups |
| Plain yogurt | Easy | Cools heat and adds creaminess | Small bowl on side for dipping |
| Cucumber slices | Easy | Fresh crunch offsets fried texture | Arrange on same platter |
| Tamarind chutney | Medium | Sweet-tangy contrast to spice | Drizzle over or serve in small dish |
| Mint coriander chutney | Medium | Fresh herbs cut through richness | Small bowl for dipping |
Three ways to serve it:
- Tea-time snack - Serve warm peanuts in small bowls with masala chai for afternoon break
- Party appetizer - Arrange on platter with assorted Indian pickles and chutneys for entertaining
- Travel snack - Pack in airtight container for road trips or train journeys since they stay crispy for days
Store and Reheat
Cool completely before storing or trapped steam softens the coating. Beef adds the contrast this plate needs, but timing matters. For a version that comes together quickly, smoky pork recipe uses similar spice blends for cohesive flavors.
| Method | Time | Best For |
|---|---|---|
| 🍳 Stovetop | 2-3 min in dry pan | Small portions, restoring crispness |
| 📦 Microwave | 15-20 sec | Quick snack, willing to sacrifice some crunch |
| 🔥 Oven | 5-7 min at 325°F | Large batches, maximum crisp restoration |
For best results when storing:
- Cool completely first - Wait 30 minutes before storing so residual heat doesn't create condensation
- Use airtight container - Glass or plastic with tight seal keeps moisture out for up to 1 week at room temperature
- Layer with paper towels - Place paper towel between layers to absorb any oil seepage
- Skip refrigeration - Cold storage makes coating chewy; room temp storage works better for crispness
- Freeze for longer storage - Freeze in freezer bags up to 1 month; thaw at room temp 1 hour before serving
Frequently Asked Questions
Use dry roasted peanuts but fry for only 2 minutes since they're already cooked. Watch closely because they burn faster than raw peanuts and the coating may not stick as well.
Store in airtight container at room temperature for 1 week or freeze up to 1 month. Reheat in dry skillet for 2-3 minutes or in 325°F oven for 5-7 minutes to restore crispness.
Heat oil to exactly 350°F and fry each batch for 3-4 minutes until golden brown. Lower temperature makes greasy peanuts while higher temperature burns coating before inside cooks.
Soggy coating means oil temperature too low or crowded pan - fry at 350°F in small batches. Burnt coating means oil too hot or frying too long - use thermometer and fry only 3-4 minutes.
Yes when made with gram flour (besan) which comes from chickpeas and contains no gluten. Check that your chaat masala and other spice blends don't contain wheat-based additives.
Masala Peanuts Indian Spiced
Ingredients
Equipment
Method
- Whisk gram flour, red chili powder, turmeric, garam masala, salt, and asafoetida in a mixing bowl. Gradually add water while stirring until the batter drips smoothly off the spoon like pancake batter. Stir in 2 teaspoons vegetable oil.0.5 cup gram flour, 1 tsp red chili powder, 0.5 tsp turmeric, 0.5 tsp garam masala, 1 tsp salt, pinch asafoetida, 0.25 cup water, 2 tsp vegetable oil
- Add raw peanuts to the batter and mix well with a spoon until each peanut has a thin, even coating. Let the coated peanuts sit for 5 minutes so the flour absorbs moisture.2 cups raw peanuts
- Pour 2-3 inches of oil into a deep pot or kadhai and heat to exactly 350°F using a thermometer. Test the temperature by dropping one coated peanut; it should sizzle immediately and rise to the surface within 5 seconds.2-3 cups oil
- Add 1 cup of coated peanuts at a time into the hot oil using a slotted spoon. Stir gently every 45 seconds and fry for 3-4 minutes until the peanuts are golden brown and the coating looks dry. Avoid crowding the pan to maintain oil temperature.2 cups raw peanuts, 2-3 cups oil
- Remove peanuts with slotted spoon and spread them on a wire rack to drain excess oil. Let them drain for 5 minutes. If using, sprinkle chaat masala over the warm peanuts. Cool completely before storing.1 tsp chaat masala
Notes
- Fry peanuts in small batches to keep the oil temperature steady at 350°F for optimal crispness.
- Allow coated peanuts to sit before frying so the batter absorbs moisture and sticks better.
- Cool peanuts completely before storing to prevent sogginess caused by trapped steam.