You need 10 minutes of grilling and one mixing bowl. No corn on the cob to wrestle with, no stovetop mess, no skillet spattering mayo.
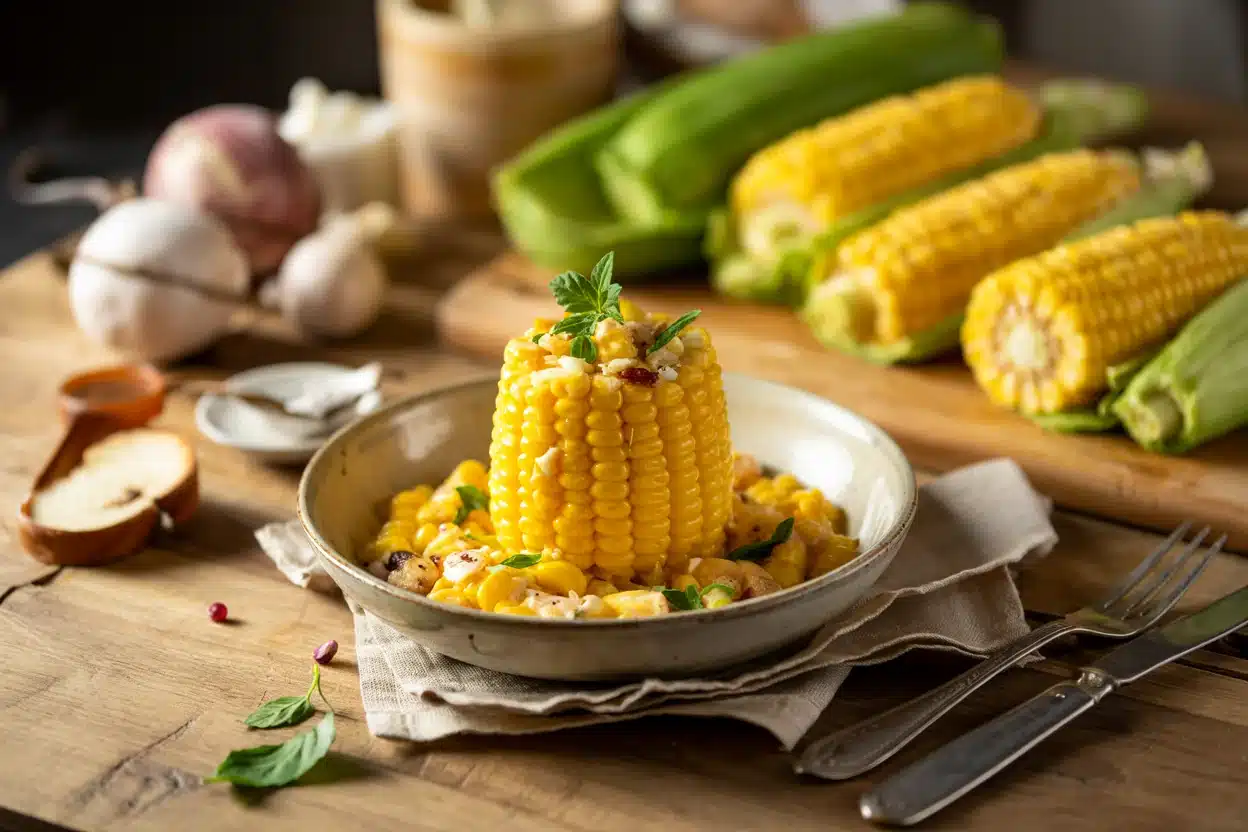
Char the corn on high heat, then layer it into cups with creamy, tangy toppings. The grill gives you smoky edges while keeping kernels tender.
This is street food you can make at home when you want something fast that tastes intentional.
Elote en vaso delivers grilled corn layered with creamy mayo, crumbly cotija, lime juice, and chili powder in a cup. High heat grilling creates char marks in 8-10 minutes while keeping kernels sweet and tender. The thick mayo binds layers without going soggy, and the balance of tangy, smoky, spicy, and salty hits on every bite.
Why This Recipe Works
High heat grilling caramelizes the natural sugars in corn while creating smoky char marks. For a version that comes together quickly, this easy steak recipe pairs well with the creamy, spicy layers.
Remember it later
Planning to try this recipe soon? Save it for a quick find later!
Prep Time
10 min
Cook Time
10-12 min
Total Time
20-22 min
Servings
4 servings
Difficulty
Easy
Category
Appetizer
Quick Tip
Grill corn until charred, then layer quickly
Best For
Weeknight | Entertaining
- Grill corn on medium-high heat for 8-10 minutes - turning every 2 minutes creates even char marks and prevents burning while keeping kernels tender
- Mix mayo with chili powder before folding into corn - distributing spices evenly coats every kernel instead of leaving clumps
- Use thick mayonnaise and crumble cotija finely - thick mayo binds without making layers watery, and small cheese crumbles spread evenly across each bite
- Toast chili powder in a dry pan for 1 minute - heat releases oils and deepens smoky flavor before mixing with creamy ingredients
- Assemble cups immediately after grilling - warm corn melts cheese slightly and blends flavors better than cold assembly
What You'll Need
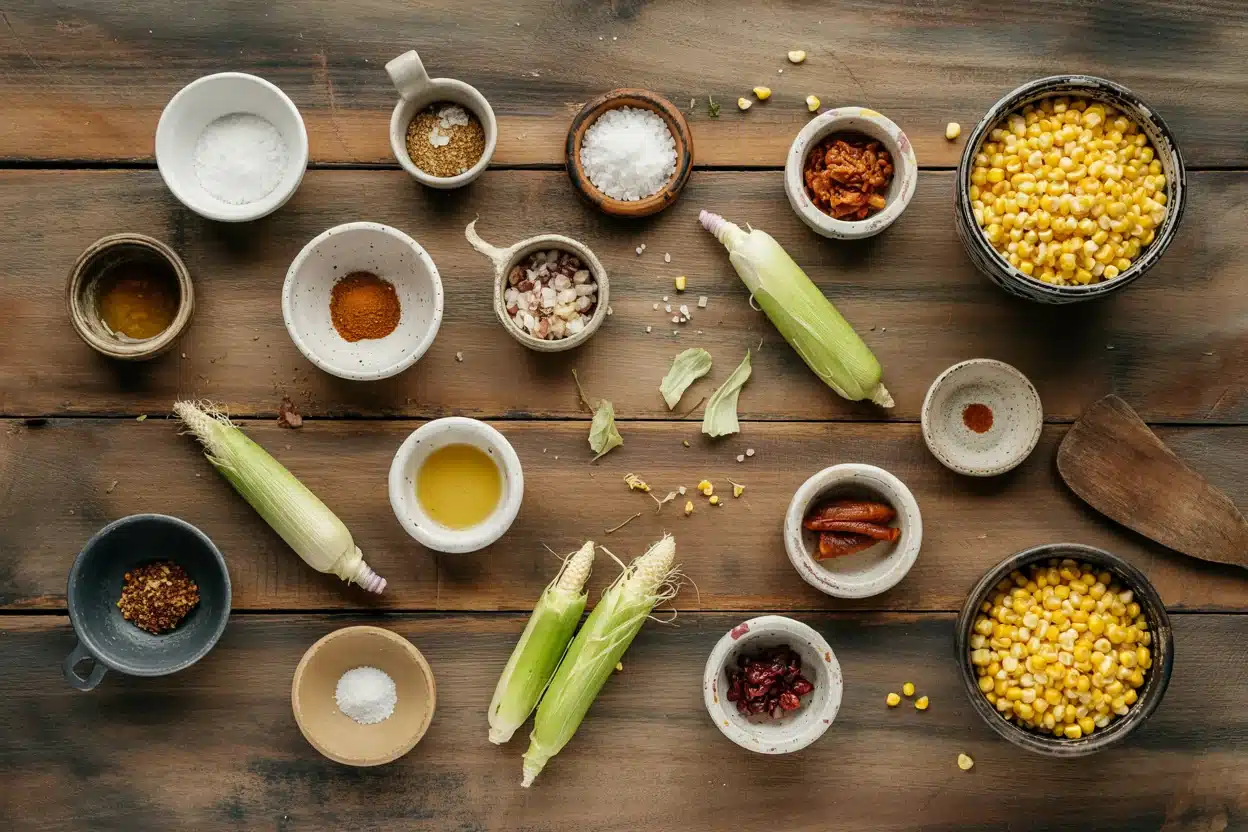
Fresh corn gives you the sweet crunch that canned or frozen can't match. Most people skip another great nachos recipe, but it balances the meal.
- 4 ears fresh corn kernels
- 2 tablespoon butter
- ⅓ cup mayonnaise
- 2 tablespoon sour cream
- ½ cup cotija cheese
- 2 tablespoon lime juice
- 1 teaspoon chili powder
- ½ teaspoon paprika
- ¼ cup cilantro
- ¼ teaspoon salt
Ingredient Details
- Fresh corn kernels
Grill whole cobs first, then cut off kernels while warm - easier to slice and kernels stay plump instead of shriveling - Mayonnaise
Use thick, full-fat mayo - low-fat or watery brands make soggy layers that separate instead of binding - Cotija cheese
Crumble by hand into small pieces right before assembly - pre-crumbled dries out and doesn't coat kernels evenly - Lime juice
Squeeze fresh lime after mixing other ingredients - bottled juice tastes flat and won't balance the richness - Chili powder
Toast in a dry skillet for 60 seconds before using - releases smoky oils that amplify flavor without adding heat - Butter
Brush on corn before grilling - helps char marks develop faster and adds richness that plain oil can't match - Cilantro
Chop finely and sprinkle at the very end - keeps bright green color and fresh taste instead of wilting into layers
Ingredient Swaps
Cotija isn't stocked everywhere, but feta or queso fresco work when crumbled small. Most people skip tender corn side dish, but it balances the meal.
- Mayonnaise → Greek yogurt or vegan mayo - Greek yogurt adds tang but thins out faster, vegan mayo stays thick but tastes slightly different
- Cotija cheese → feta or queso fresco - feta is saltier and firmer, queso fresco is milder and softer, both crumble well
- Fresh corn → frozen corn kernels - thaw and pat dry first, then grill 2-3 minutes longer until edges char
- Chili powder → smoked paprika or cayenne - paprika gives smoke without heat, cayenne brings heat without smoke, use half the amount
Greek Yogurt
Works for: Lighter texture, tangy bite, protein boost
Skip if: You want thick binding or make-ahead cups
Vegan Mayo
Works for: Dairy-free needs, thick consistency, similar taste
Skip if: You want classic rich flavor
Frozen Corn
Works for: Budget shopping, off-season cooking, quick prep
Skip if: You want crisp kernels or sweet corn flavor
Instructions
Grilling takes 10 minutes and assembly takes another 5. For a version that comes together quickly, simple chicken recipe pairs well when you need protein alongside the cups.
Grill the corn: Brush 4 ears of corn with melted butter and place on a preheated grill or grill pan over medium-high heat. Turn every 2 minutes until all sides show char marks, about 8-10 minutes total. Let cool 3 minutes, then cut kernels off the cob into a large bowl.
Toast the spices: Heat a small dry skillet over medium heat and add 1 teaspoon chili powder and ½ teaspoon paprika. Stir constantly for 60 seconds until fragrant and slightly darkened. Remove from heat immediately.
Mix the creamy base: In a medium bowl, whisk together ⅓ cup mayonnaise, 2 tablespoon sour cream, toasted spices, 2 tablespoon fresh lime juice, and ¼ teaspoon salt until smooth. Fold in the warm corn kernels and toss until every kernel is coated.
Assemble the cups: Divide the corn mixture evenly among 4 serving cups. Crumble ½ cup cotija cheese by hand and sprinkle over each cup. Press down lightly so cheese sticks to the creamy corn.
Garnish and serve: Sprinkle finely chopped cilantro over each cup, add an extra pinch of chili powder for color, and serve immediately while corn is still warm. If making ahead, refrigerate without garnish and add cilantro just before serving.
What to Serve With It
Street food works best with something savory that contrasts the creamy, spicy layers. For complete lamb burgers meal ideas, a rich protein fills out the plate without competing.
| Side Dish | Prep | Why It Works | How to Serve |
|---|---|---|---|
| Grilled carne asada | Medium | Smoky charred steak balances creamy corn sweetness | Slice thin and serve alongside cups with lime wedges |
| Black bean salsa | Easy | Fiber and protein add substance to snack portions | Spoon over corn or serve in a bowl for dipping |
| Carnitas tacos | Involved | Savory pork fills out a meal when corn is the starter | Serve cups first, then bring out warm tacos |
| Cucumber salad | Easy | Cool crunch cuts through rich, spicy layers | Toss with lime and serve in a separate bowl |
| Chips and guacamole | Easy | Classic pairing for Mexican street food spreads | Set out bowls for guests to grab between bites |
Three ways to serve it:
- As a party appetizer - set up a DIY bar with grilled corn, toppings in bowls, and serving cups so guests build their own
- With grilled proteins - pair with carne asada, chicken, or shrimp for a complete summer cookout plate
- As a snack with dips - serve alongside chipotle mayo or lime crema for extra drizzling
Store and Reheat
Assembled cups get soggy after a day, but plain grilled corn holds for 3-4 days. We keep a batch ready for nights like this - simple beef recipe makes quick weeknight meals when you prep corn ahead.
| Method | Time | Best For |
|---|---|---|
| 🍳 Stovetop | 3-4 min | Reheating plain corn before assembling fresh cups |
| 📦 Microwave | 30-45 sec | Quick single-serving reheat when you need speed |
| 🔥 Oven | 5-7 min at 350°F | Warming multiple assembled cups evenly without sogginess |
For best results when storing:
- Refrigerate grilled corn separately - store plain kernels in an airtight container for up to 4 days, then mix with mayo and toppings right before serving
- Skip freezing assembled cups - mayo and cheese separate when thawed, turning creamy layers into watery mush
- Freeze plain grilled corn up to 1 month - spread kernels on a baking sheet to freeze individually, then transfer to a freezer bag and thaw before using
- Add garnishes last - cilantro wilts and lime juice makes layers watery if stored together, so sprinkle both right before serving
- Use shallow containers for assembled cups - deep stacking crushes corn and squeezes out moisture, making layers separate
Frequently Asked Questions
Frozen works better than canned because you can still grill it for char marks. Thaw frozen kernels completely, pat them dry with paper towels, then grill in a hot skillet for 5-6 minutes until edges brown.
Store assembled cups in the fridge for up to 2 days, but layers get soggy after that. Better option: keep grilled corn and toppings separate for 3-4 days, then assemble fresh cups when you're ready to eat.
Look for visible char marks on all sides and kernels that feel tender when you press them with a fork. If kernels are still crunchy or pale yellow with no brown spots, grill 2-3 minutes longer.
Soggy means too much mayo or watery ingredients - drain excess liquid and stir in more crumbled cheese or a handful of fresh corn to thicken. Bland means not enough lime juice or chili powder - add both gradually and taste after each addition.
Grill corn and mix the creamy base up to 24 hours ahead, but don't assemble until right before serving. If you need warm cups, microwave assembled portions for 30 seconds or warm in a 350°F oven for 5 minutes.
Elote en Vaso Corn in a Cup
Ingredients
Equipment
Method
- Brush 4 ears of corn with melted butter and grill over medium-high heat, turning every 2 minutes until all sides have char marks, about 8-10 minutes total. Let cool 3 minutes then cut kernels off the cob into a large bowl.
- Heat a small dry skillet over medium heat. Add chili powder and paprika and stir constantly for 1 minute until fragrant and slightly darkened. Remove immediately from heat.
- Whisk together mayonnaise, sour cream, toasted spices, lime juice, and salt in a medium bowl until smooth. Fold in warm corn kernels and toss until every kernel is evenly coated.
- Divide the corn mixture evenly among 4 cups. Crumble cotija cheese by hand and sprinkle over each cup. Press down lightly so cheese adheres to creamy corn.
- Sprinkle finely chopped cilantro and an extra pinch of chili powder over each cup. Serve immediately while corn is warm for best flavor and texture.
Notes
- Use thick, full-fat mayonnaise to prevent soggy layers.
- Toast chili powder and paprika to deepen smoky flavor.
- Assemble cups immediately after grilling for best taste and texture.