Crispy edges with a chewy, airy center that pulls apart in your hands. That's what happens when you bake Brazilian cheese bread with tapioca flour and sharp Parmesan.
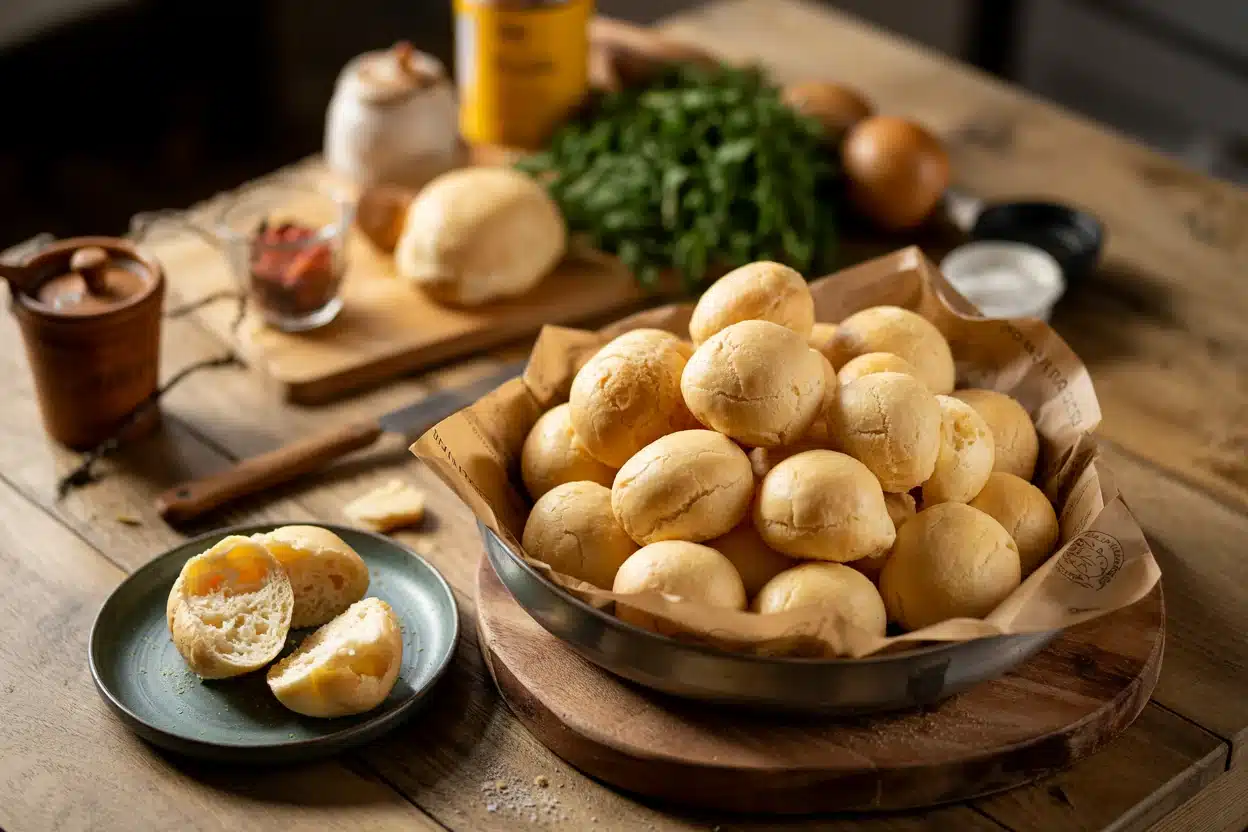
The hot liquid activates the starch before the eggs go in. You get puffed, golden rolls without kneading or rising time.
This works for breakfast spreads, party snacks, or weeknight sides when you need something that looks impressive but uses one bowl and 40 minutes.
Pão de queijo delivers crispy-chewy texture using tapioca flour, boiled liquids, and grated Parmesan. Boil the milk and oil fully before mixing with the starch to gelatinize it properly. Mix until completely smooth to avoid dense, flat rolls that don't puff.
Why This Recipe Works
The boiling liquid gelatinizes the tapioca starch before you add eggs, creating dough that puffs instead of staying flat. High oven heat sets the crispy shell while the interior stays tender and slightly gooey.
Remember it later
Planning to try this recipe soon? Save it for a quick find later!
Prep Time
15 min
Cook Time
20-25 min
Total Time
40 min
Servings
12-16 pieces
Difficulty
Medium
Category
Appetizer
Quick Tip
Use tapioca flour for chewy texture
Best For
Weeknight | Entertaining
Five things that make this work:
- Tapioca flour creates stretch - The starch gelatinizes when hot liquid hits it, forming elastic dough that puffs during baking instead of staying dense
- Boiled liquids activate starch - Heating milk and oil to full boil before mixing hydrates the tapioca completely and starts the gelatinization process
- Eggs bind the dough - Adding eggs gradually after the starch cools creates structure without scrambling, giving rolls their signature airy interior
- High heat sets the shell - Baking at 375-400°F crisps the exterior quickly while steam inside creates hollow pockets
- Aged Parmesan adds salt - Sharp, salty cheese balances the mild tapioca and provides savory depth without overwhelming the chewy texture
What You'll Need
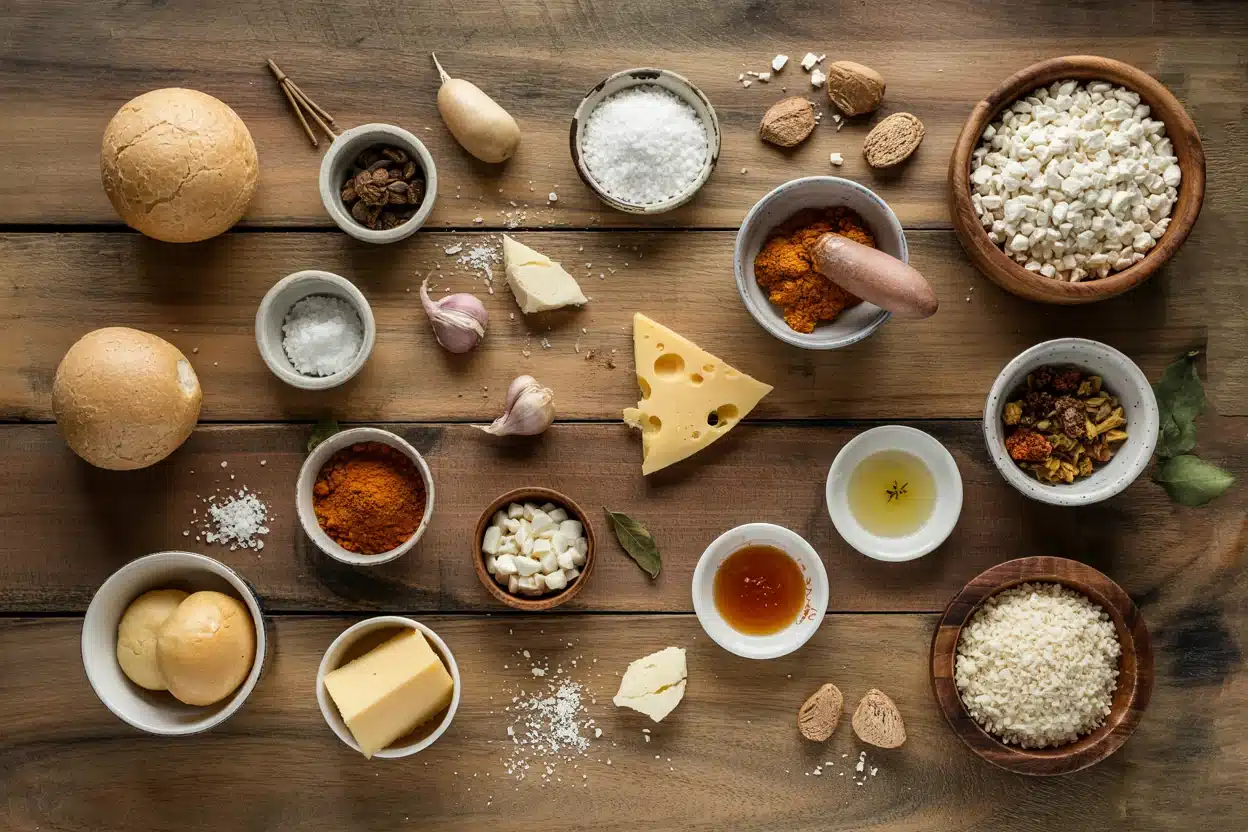
Most ingredients sit in your pantry already. The tapioca flour and aged Parmesan do the heavy lifting - everything else supports texture and structure.
- Tapioca flour (2 cups)
- Milk (½ cup)
- Parmesan cheese (1 cup grated)
- Eggs (2 large)
- Oil (¼ cup)
- Water (¼ cup)
- Salt (1 tsp)
Ingredient Details
- Tapioca Flour
Also called tapioca starch - same product, different label; buy fresh for best puff and chew - Parmesan Cheese
Use aged, block Parmesan you grate yourself; pre-grated loses moisture and doesn't melt as smoothly - Milk
Whole milk works best for richness; 2% works but creates slightly less tender interior - Oil
Neutral oil like vegetable or canola keeps flavor clean; olive oil adds slight bitterness - Eggs
Room temperature eggs mix smoother; cold eggs need extra stirring to incorporate fully - Water
Thins the dough slightly for easier scooping; skip if you prefer thicker, denser rolls - Salt
Balances the sharp cheese; 1 teaspoon is base - taste dough and add ¼ teaspoon more if needed
Ingredient Swaps
You can adjust cheese type or swap dairy without losing the chewy texture. If you need a simple peas side dish, it pairs well with Brazilian spreads or brunch plates.
Four swaps that work:
- Parmesan → Pecorino Romano - Saltier, sharper flavor with same melt; use ¾ cup instead of 1 cup to avoid oversalting
- Milk → unsweetened almond milk - Slightly different flavor but keeps dairy-free; texture stays mostly the same
- Oil → melted butter - Richer flavor with slight texture change; rolls brown faster so watch bake time
- Parmesan → aged cheddar - More bold flavor with different melt; shred finely for smooth mixing
Cassava Flour
Works for: Gluten-free swaps when tapioca is unavailable
Skip if: You want traditional chew - cassava creates heavier, less airy texture
Nutritional Yeast
Works for: Vegan versions needing cheesy flavor without dairy
Skip if: You expect melty texture - nutritional yeast adds flavor but no gooeyness
Flax Egg
Works for: Dairy-free or egg-free diets
Skip if: You want airy interior - flax creates denser, heavier rolls
Instructions
The entire process takes 40 minutes with no rising or kneading. Boil the liquids first, mix until smooth, shape into balls, and bake until puffed and golden.
Boil the liquids. Combine milk, water, oil, and salt in a saucepan over medium-high heat. Bring to a full rolling boil, 3-4 min. Pour immediately over tapioca flour in a large mixing bowl. Stir vigorously with a wooden spoon until dough forms and no dry flour remains, 2-3 min.
Let dough cool slightly. Rest the dough 10 min at room temp so eggs don't scramble. Stir occasionally to release steam. Dough should feel warm but not hot when you touch it - around 120-130°F if using a thermometer.
Add eggs and cheese. Crack eggs one at a time into the dough, stirring after each addition until fully smooth. Add grated Parmesan and mix 1-2 min until completely incorporated. Dough should be thick, sticky, and uniform with no lumps.
Shape into balls. Preheat oven to 375°F. Use a 1.5 tablespoon ice cream scoop or spoon to portion dough onto a parchment-lined baking sheet. Space balls 2 inches apart to allow expansion. Wet hands lightly if dough sticks, but avoid adding extra flour.
Bake until puffed and golden. Bake 20-25 min until rolls puff up, develop lightly golden tops, and feel firm when tapped. Bake at the lower rack for crispier bottoms. Let cool on a wire rack 10 min before serving. Rolls deflate slightly as they cool but stay chewy inside.
What to Serve With It
These work for breakfast spreads, party snacks, or alongside dinner when you need a simple bread side. Rich mains need something to cut through, and a warm bread on the side does exactly that.
| Side Dish | Prep | Why It Works | How to Serve |
|---|---|---|---|
| Scrambled Eggs | Easy | Simple protein complements cheese bread richness | Serve warm alongside eggs for breakfast or brunch |
| Mixed Greens Salad | Easy | Adds freshness and balances heaviness | Toss greens with vinaigrette, serve on the side |
| Fresh Fruit Slices | Easy | Light contrast to savory bread | Arrange melon, berries, or citrus on a plate |
| Avocado Slices | Easy | Adds creamy texture and healthy fats | Slice ripe avocado, sprinkle with salt and lime |
| Charcuterie Board | Medium | Pairs well with meats and cheeses for variety | Arrange cured meats, cheeses, olives around bread |
Three ways to serve it:
- With chimichurri sauce - Herbaceous, zesty sauce cuts through cheese richness; drizzle or dip warm rolls
- Alongside Brazilian fish stew - The bread soaks up broth from a tender fish recipe; serve in bowls with stew spooned over
- With garlic aioli - Creamy, mild garlic complements cheesy flavor; serve aioli in small bowl for dipping
Store and Reheat
Cheese bread loses its crisp exterior within hours at room temp. Store in an airtight container in the fridge for 3-4 days or freeze up to 2 months.
| Method | Time | Best For |
|---|---|---|
| 🔥 Oven | 5-7 min at 350°F | Restoring crisp exterior and soft interior |
| 📦 Microwave | 30-45 seconds | Quick reheating but may soften crust |
| 🍞 Toaster Oven | 4-6 min at 350°F | Small batches with crisp outside |
For best results when storing:
- Cool completely before storing - Hot rolls create condensation in containers, making them soggy when reheated
- Freeze in single layer first - Lay baked rolls on a sheet pan, freeze 1 hour, then transfer to freezer bag to prevent sticking
- Reheat from frozen - Bake frozen rolls at 350°F for 8-10 min; no need to thaw first
- Skip room temp storage - Rolls turn gummy within 2-3 hours at room temp; refrigerate or freeze immediately after cooling
- Wrap individually for meal prep - Wrap each roll in plastic wrap before freezing for grab-and-go portions
Frequently Asked Questions
Bake 20-25 min until rolls puff up and develop lightly golden tops. They should feel firm when tapped and show slight cracks on the surface.
Yes - refrigerate mixed dough in an airtight container up to 24 hours. Let sit at room temp 10 min before scooping and baking.
Aged Parmesan creates the sharpest, saltiest flavor. Pecorino Romano works for stronger taste, while aged cheddar adds bolder notes with different melt.
Insufficient eggs or incomplete mixing causes dense rolls. Add eggs gradually as directed and stir vigorously 2-3 min until dough is completely smooth with no lumps.
Freeze baked rolls in airtight bag up to 2 months. Reheat from frozen at 350°F for 8-10 min until warmed through and crisp outside.
Pão de Queijo Brazilian Cheese Bread
Ingredients
Equipment
Method
- Combine milk, water, oil, and salt in a saucepan over medium-high heat. Bring to a full rolling boil, about 3-4 minutes.0.5 cup milk, 0.25 cup water, 0.25 cup oil, 1 tsp salt
- Pour the boiling liquid immediately over the tapioca flour in a large mixing bowl. Stir vigorously with a wooden spoon for 2-3 minutes until dough forms and no dry flour remains.2 cups tapioca flour
- Let dough rest 10 minutes at room temperature, stirring occasionally to release steam. Dough should be warm but not hot (around 120-130°F).
- Add eggs one at a time, stirring after each addition until smooth. Then add grated Parmesan and mix 1-2 minutes until completely incorporated and uniform with no lumps.2 large eggs, 1 cup Parmesan cheese
- Preheat oven to 375°F. Use a 1.5 tablespoon ice cream scoop to portion dough onto a parchment-lined baking sheet, spacing balls 2 inches apart. Wet hands lightly if dough sticks.
- Bake 20-25 minutes on the lower oven rack until rolls puff, become lightly golden, and feel firm to touch. Let cool on a wire rack 10 minutes before serving.
Notes
- Bring liquids to a full rolling boil before adding tapioca flour to ensure proper gelatinization.
- Add eggs gradually and stir vigorously to avoid lumps and achieve a smooth dough.
- Use aged Parmesan freshly grated for best melting and flavor.