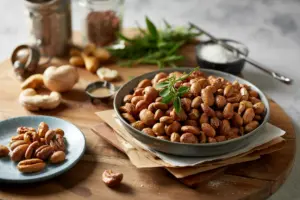
When you need a quick appetizer for unexpected guests or a healthy snack alternative to chips, pita triangles tossed in olive oil and baked crisp deliver.
One stack of pita bread becomes 40-50 crunchy triangles in 20 minutes.

The oven does all the work once you cut and season. No frying, no complicated steps, no special equipment beyond a baking sheet.
This works for weeknight snacking, party appetizers, or meal prep when you want something shelf-stable that actually tastes homemade.
Pita bread cut into triangles, tossed with olive oil and seasonings, then baked at high heat until crispy. Single-layer spacing and a halfway flip create uniform golden chips with no soggy spots. Use dry, day-old pita for the crispest results.
Why This Recipe Works
High heat renders the moisture from pita bread while olive oil promotes browning and crispness. Most people skip this quick dip dish, but it balances the meal.
Remember it later
Planning to try this recipe soon? Save it for a quick find later!
Prep Time
5 min
Cook Time
12-15 min
Total Time
20 min
Servings
4 servings
Difficulty
Easy
Category
Appetizer
Quick Tip
Cut even, single layer, flip halfway
Best For
Weeknight | Meal prep | Entertaining
Five things that ensure crispy chips:
- 375°F baking temperature creates rapid moisture evaporation without burning edges
- Even triangle sizing ensures all pieces finish baking at the same time without burnt or soft spots
- Light oil coating promotes browning while preventing greasiness from excess fat
- Single-layer spacing allows hot air circulation around each piece for uniform crispness
- Halfway flip exposes both sides to direct heat for consistent golden color
What You'll Need
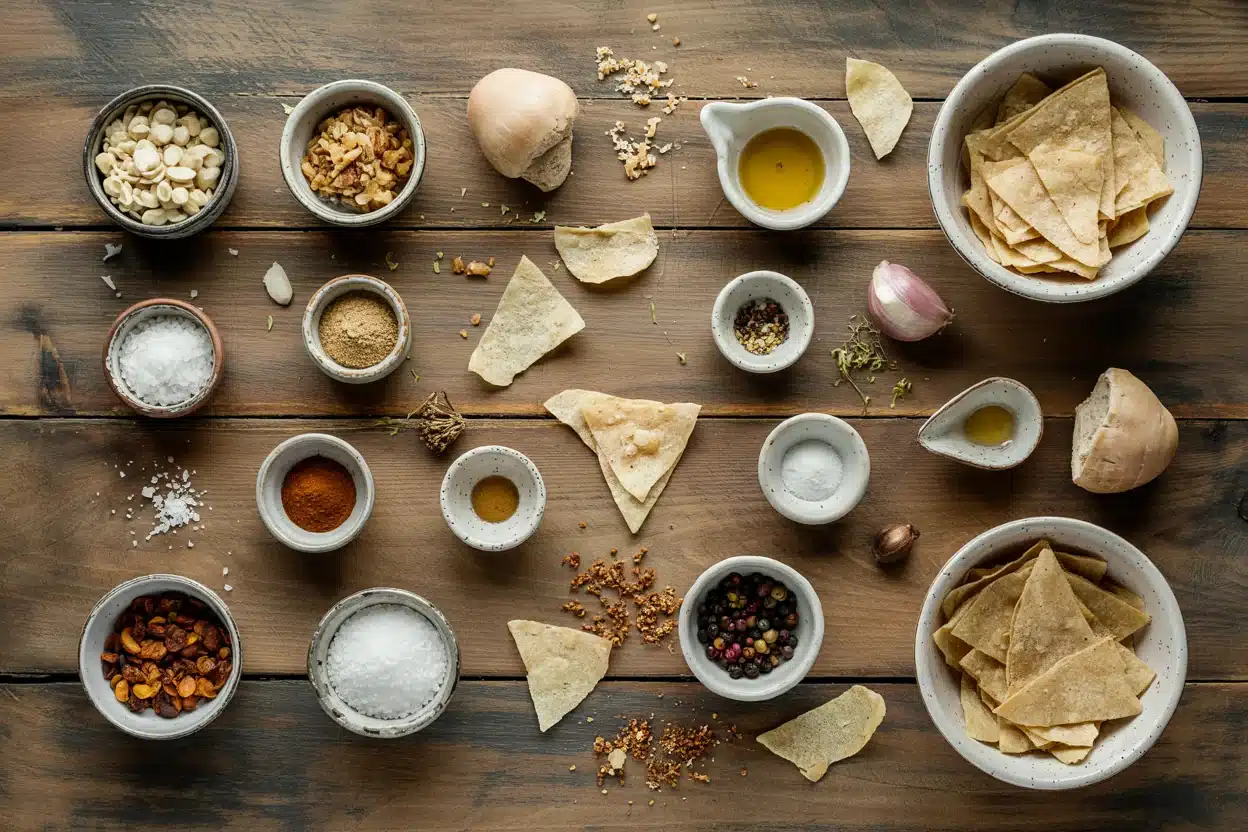
Pita bread forms the base, while olive oil and salt create the foundational flavor. For a version that comes together quickly, simple buddies recipe keeps pantry ingredients ready.
- Pita bread (4-5 pockets)
- Olive oil (3-4 tbsp)
- Salt (1 tsp)
- Garlic powder (1 tsp)
- Paprika (1 tsp)
- Black pepper (½ tsp, optional)
- Parmesan cheese (¼ cup, grated)
- Za'atar seasoning (1 tbsp)
Ingredient Details
- Pita bread
Use white or whole wheat pockets - avoid pita rounds that are too thick to crisp properly - Olive oil
Extra virgin adds flavor, but regular olive oil works fine for high-heat baking - Salt
Kosher or sea salt distributes more evenly than table salt on dry surfaces - Garlic powder
Granulated garlic powder works better than garlic salt which oversalts the chips - Paprika
Sweet paprika adds color without heat - swap for smoked if you want deeper flavor - Black pepper
Freshly ground pepper tastes sharper than pre-ground, but either works - Parmesan cheese
Grate fresh rather than using pre-grated for better melting and adherence to chips
Ingredient Swaps
Different oils change the flavor slightly without affecting crispness. A good homemade beef recipe can make or break the plate.
Four swaps that work:
- Avocado oil instead of olive oil - neutral flavor with higher smoke point for less risk of burnt taste
- Gluten-free pita bread instead of regular pita - texture may be slightly less crisp but still works for dietary needs
- Nutritional yeast instead of parmesan - adds cheesy, umami flavor while keeping the chips vegan
- Smoked paprika instead of sweet paprika - creates deeper, smokier flavor with the same color and texture
Fresh Pita Bread
Works for: soft texture preference, immediate use without drying time
Skip if: you want maximum crispness or have time to let pita dry overnight
Day-Old Pita Bread
Works for: crispest texture, less internal moisture to evaporate during baking
Skip if: pita is stale beyond one day or shows signs of mold
Instructions
Cut pita into triangles first, then toss everything together before spreading on the pan. The this flaky lobster works best when it hits the table at the same time as the main.
Preheat oven to 375°F. Stack pita pockets and cut each pocket into 8 triangular wedges using a sharp knife - aim for 1.5-2 inch pieces for consistent baking.
Toss pita with oil and seasonings. Place triangles in a large mixing bowl, drizzle with olive oil (about 1 tablespoon per pita pocket), then add salt, garlic powder, paprika, and black pepper. Toss with hands until every piece is lightly coated.
Arrange in single layer on baking sheet. Spread triangles across two baking sheets if needed, leaving half-inch gaps between pieces so hot air circulates. Overcrowding causes steaming instead of crisping.
Bake 7 minutes, then flip. Use a spatula to turn each triangle over so both sides get direct oven heat. Rearrange any pieces that look darker to cooler spots on the pan.
Bake 5-8 more minutes until golden. Edges should be light golden brown and centers firm when you press gently. Cool on wire rack 10 minutes before serving - chips crisp further as they cool.
What to Serve With It
Crispy chips need something creamy or tangy to balance the crunch. Most people skip pita chips meal planning ideas, but it balances the meal.
| Side Dish | Prep | Why It Works | How to Serve |
|---|---|---|---|
| Hummus | Easy | Creamy chickpea dip provides rich contrast to crispy chips | Serve in shallow bowl with drizzle of olive oil on top |
| Tzatziki sauce | Easy | Cool cucumber yogurt cuts through salty, herby chips | Chill 30 minutes before serving for best texture |
| Guacamole | Easy | Creamy avocado adds richness and balances crisp texture | Make fresh just before serving to prevent browning |
| Salsa | Easy | Tangy tomato acidity complements mild pita flavor | Use chunky salsa for texture contrast with smooth chips |
| Olive tapenade | Easy | Briny, salty spread enhances Mediterranean chip seasonings | Spread thin on chips or serve in small dish for dipping |
Three ways to serve it:
- Weeknight snack: Pair with store-bought hummus and sliced vegetables for quick, healthy plate
- Party appetizer: Arrange chips around baba ganoush or spinach-artichoke dip on large platter
- Meal prep component: Store chips separately from dips and pack for work lunches with individual containers
Store and Reheat
Moisture ruins crispy chips faster than anything else. For a version that comes together quickly, juicy chicken side dish keeps batch cooking simple when you need extras on hand.
| Method | Time | Best For |
|---|---|---|
| 🔥 Oven | 5 min at 300°F | Restoring crisp texture to softened chips from storage |
| 💨 Air Fryer | 3 min at 320°F | Small batches needing quick refresh without heating full oven |
| 📦 Microwave | 30 sec | Fast warming when you don't mind slightly softer texture |
For best results when storing:
- Cool completely before storing - any residual warmth creates condensation that softens chips within hours
- Use airtight containers with tight lids - exposure to humid air turns crispy chips soft overnight
- Layer with parchment between stacks - prevents chips from sticking together or transferring moisture
- Store at room temperature up to 4 days - refrigeration adds moisture and makes chips soggy faster
- Freeze for longer storage up to 1 month - thaw at room temperature, then refresh in 300°F oven for 5 minutes
Frequently Asked Questions
Yes, gluten-free pita works but may crisp less than wheat pita. The texture tends to be slightly denser and may require 2-3 extra minutes of baking time to reach full crispness.
Store completely cooled chips in an airtight container at room temperature for up to 4 days. Avoid refrigeration since it adds moisture that softens the chips.
Look for light golden edges and firm centers that snap cleanly when bent. Chips continue crisping as they cool, so slight softness out of the oven is normal.
Soggy chips result from overcrowding the pan, using too-moist pita, or uneven oil distribution. Fix by rebaking at 350°F for 3-5 minutes and ensure single-layer spacing next time.
Yes, scale ingredients proportionally and use additional baking sheets as needed to maintain single-layer spacing. Baking time remains the same regardless of batch size.
Crispy Baked Pita Chips
Ingredients
Equipment
Method
- Preheat the oven to 375°F (190°C). Stack pita pockets and cut each into 8 triangular wedges about 1.5-2 inches in size for even baking.4 pockets pita bread
- Place the pita triangles in a large mixing bowl. Drizzle with olive oil and sprinkle with salt, garlic powder, paprika, and black pepper. Toss with your hands until every piece is lightly coated.3 tablespoons olive oil, 1 teaspoon salt, 1 teaspoon garlic powder, 1 teaspoon paprika, 0.5 teaspoon black pepper
- Arrange the triangles in a single layer on one or two baking sheets, leaving about half an inch of space between pieces to allow hot air circulation and prevent sogginess.
- Bake for 7 minutes, then use a spatula to flip each triangle over to expose both sides to direct heat. Rearrange any darker pieces to cooler spots on the pan.
- Bake for an additional 5 to 8 minutes until edges are light golden brown and centers feel firm when pressed. Remove from oven and cool on a wire rack for 10 minutes before serving to let chips crisp further.
Notes
- Use day-old pita bread for the crispiest chips with less internal moisture.
- Leave space between triangles on the baking sheet to avoid steaming and soggy chips.
- Flip the chips halfway through baking for even browning and texture.