When you need portable snacks that work for lunchboxes, road trips, or weekend hikes, fruit leather delivers. One sheet pan, a few hours in the oven, and you get chewy rolls that last for weeks.

The low heat does all the work. You spread pureed fruit thin and let it dry slowly while you do other things.
This is what we make during meal prep when fresh fruit is cheap and we want something healthier than store-bought snacks. Works for camping trips and kids' lunch boxes.
Homemade Fruit Leather Rolls turn fresh fruit puree into chewy, portable snacks by spreading it thin on parchment and drying slowly at low heat. The key is even spreading at ⅛ inch thickness so edges and center dry at the same rate. Check after 4 hours - leather should peel clean with a tacky center, not wet or brittle.
Why This Recipe Works
Low heat preserves the fresh fruit flavor while slowly evaporating moisture. You spread the puree thin and let physics do the work - no flipping or rotating required.
Remember it later
Planning to try this recipe soon? Save it for a quick find later!
For something warm that pairs well at snack time, try simple pretzels side dish that bakes while your fruit leather dries.
Prep Time
15 min
Cook Time
4-6 hours
Total Time
4-6 hours 15 min
Servings
8-10 rolls
Difficulty
Easy
Category
Snack
Quick Tip
Spread puree thinly for even drying
Best For
Meal prep | Kids snack | Camping
- Uniform thickness matters most - ⅛ inch across the entire pan means everything finishes drying at once without burnt edges or wet centers
- Lemon juice preserves color and adds tang - 1 tablespoon per 2 cups fruit prevents browning and balances sweetness
- Low temperature (135-140°F) prevents caramelization - higher heat browns the sugars instead of drying the puree
- Tacky center signals doneness - edges peel clean from parchment while center feels slightly sticky, not wet
- Blending pureed fruit creates smooth texture - no chunks or seeds that create uneven drying or tough spots
What You'll Need
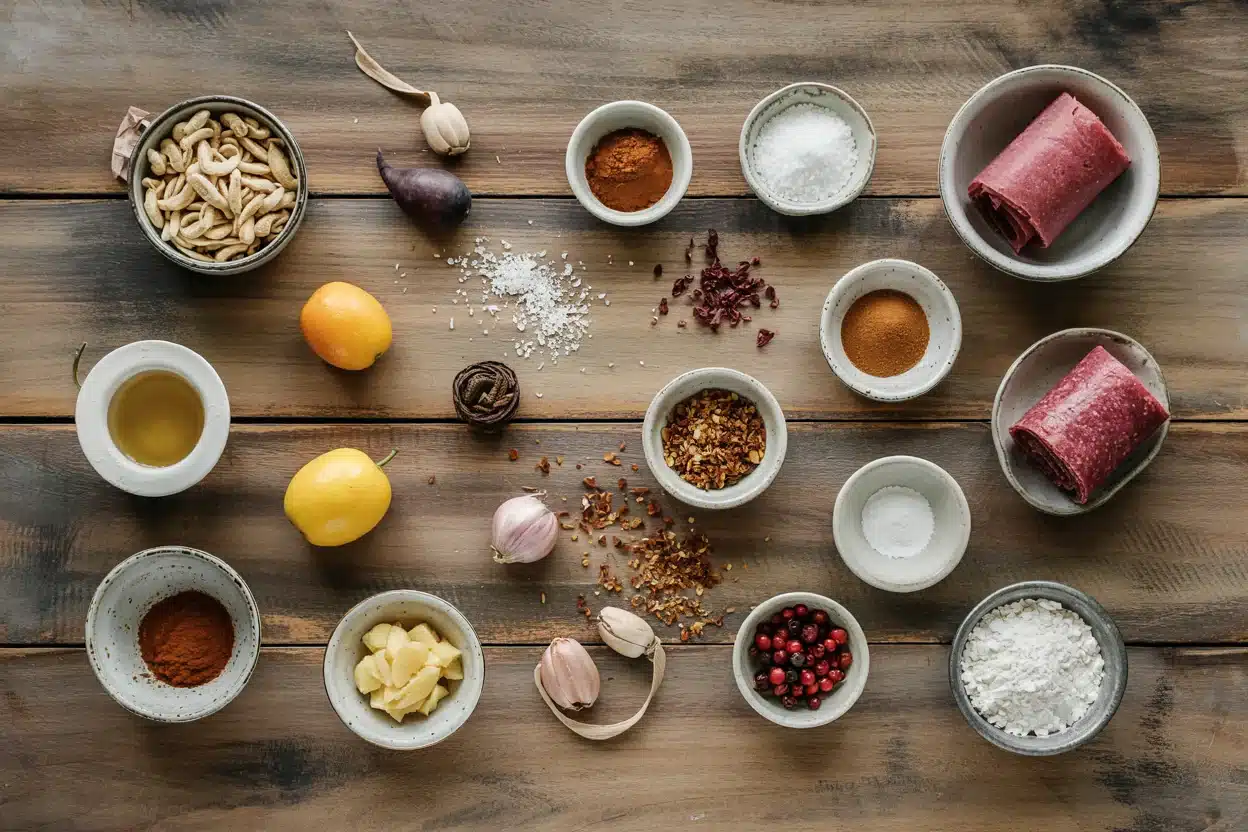
Fresh or thawed fruit goes in the blender, then spreads on parchment. Use ripe fruit for natural sweetness that reduces added sugar.
A a warm rice side uses similar rolling technique but skips the long drying time.
- 2-3 cups ripe fruit puree (strawberries, mango, apples, or peaches)
- 1 tablespoon lemon juice
- 2-4 tablespoon sweetener (honey, sugar, or agave syrup)
- 1 teaspoon pectin or gelatin (for firmer texture)
- Pinch of salt
- 1-2 tablespoon water (if puree is too thick)
Ingredient Details
- Ripe fruit puree
Use fresh or thawed frozen fruit - avoid excess moisture that delays drying - Lemon juice
Add 1 tablespoon per 2 cups fruit to preserve color and balance sweetness - Sweetener
Start with 2 tablespoon honey or sugar, taste and add more if needed for tart fruits - Pectin or gelatin
Optional thickener improves texture for watery fruits like watermelon or citrus - Parchment paper
Use quality parchment or silicone mat - cheap parchment can stick to finished leather - Salt
Pinch enhances fruit flavor and balances sweetness without tasting salty - Water
Add 1-2 tablespoon to thin very thick purees like banana or applesauce for easier spreading
Ingredient Swaps
Most fruit purees work if you adjust sweetener and drying time. Watery fruits like melon need longer in the oven, dense fruits like banana need thinning.
Four practical swaps:
- Honey → maple syrup - slightly different flavor, similar moisture, vegan-friendly (1:1 ratio)
- Fresh fruit → frozen fruit - may add moisture and require 30-60 minutes longer drying time (same amount)
- Gelatin → pectin or agar agar - vegetarian substitute with similar thickening power (1:1 ratio)
- Lemon juice → lime juice - similar acidity and preservative effect with different citrus note (1:1 ratio)
| Instead Of | Use | Ratio |
|---|---|---|
| Sugar | Erythritol (keto) | 1:1 (less browning) |
| Parchment paper | Silicone baking mat | Direct swap |
| Fresh fruit | Unsweetened applesauce | Same amount |
| Water to thin | Apple juice | 1:1 (adds sweetness) |
Instructions
Blend fruit until smooth, spread thin on parchment, then dry low and slow. Check after 4 hours - edges should peel clean while center stays tacky.
For another snack that rolls like this one, a rich beef on the side cooks unattended while you prep other meals.
Blend pureed fruit until completely smooth - add lemon juice, sweetener, and salt, then blend 30-60 seconds until no chunks remain. Strain through fine-mesh sieve if using seeded berries.
Line baking sheet with parchment paper - use 13x18-inch rimmed sheet pan, smooth parchment flat with no wrinkles that create uneven spots.
Spread puree evenly ⅛ inch thick - pour puree onto parchment, use offset spatula to spread in thin layer, checking edges and center for uniform thickness.
Dry at 135-140°F for 4-6 hours - set oven or food dehydrator to low heat, prop oven door open slightly with wooden spoon if using oven, rotate pan once halfway through.
Test doneness and cool completely - peel corner of leather after 4 hours - should lift clean with tacky center, not wet or brittle. Cool 30 minutes, then roll with parchment and cut into 1-inch strips.
What to Serve With It
Fruit leather works as standalone snack or paired with protein for balanced energy. Pack it with nuts, cheese, or yogurt for longer-lasting fullness.
If you're planning ahead, check out complete bunless burgers meal ideas for more meal prep combinations.
| Side Dish | Prep | Why It Works | How to Serve |
|---|---|---|---|
| Greek yogurt | Easy | Adds protein and creamy contrast to chewy sweetness | Serve 6 oz yogurt with 1-2 fruit leather rolls on top |
| Cheese slices | Easy | Salty-savory balances fruit sweetness, adds fat for satiety | Pack 1-2 oz cheddar or string cheese with fruit leather |
| Mixed nuts or trail mix | Easy | Crunchy texture contrasts with chewy leather, adds protein | Serve ¼ cup nuts alongside 1-2 fruit rolls |
| Fresh fruit salad | Easy | Refreshing and light pairing with varied textures | Serve 1 cup mixed berries or melon with fruit leather |
| Nut butter | Easy | Rich, creamy protein pairs with sweet-tart fruit flavors | Spread 1-2 tablespoon almond or peanut butter on unrolled leather |
Three ways to serve it:
- Pack in lunchboxes with sandwich and veggies for portable weekday snack
- Roll around soft cheese stick for sweet-savory combo at parties
- Cut into small squares for toddler-friendly finger food
Store and Reheat
Fruit leather stays fresh for weeks if stored properly. Wrap rolls individually to prevent sticking and keep in cool, dry place away from moisture.
When you need more grab-and-go options, simple homemade chicken meal preps just as well for dinner.
| Method | Time | Best For |
|---|---|---|
| 🍴 Room Temperature | 0 min | Eating as is - fruit leather ready anytime |
| 🔥 Oven (200°F) | 2-3 min | Softening leather that became too firm in fridge |
| 📦 Microwave (low) | 5-10 sec | Quick softening - watch closely to avoid melting |
For best results when storing:
- Wrap each roll individually in plastic wrap or wax paper to prevent sticking together
- Store wrapped rolls in airtight container at room temperature for 2-3 weeks
- Refrigerate for 3-4 weeks if kitchen is humid or above 75°F
- Freeze wrapped rolls up to 6 months - thaw at room temperature 15 minutes before eating
- Check for mold spots before eating - discard entire batch if any mold appears
Frequently Asked Questions
Yes - wrap rolls individually in plastic wrap or wax paper, store airtight at room temperature for 2-3 weeks. Refrigerate for 3-4 weeks or freeze up to 6 months for longer storage.
Dry for 4-6 hours at 135-140°F - check after 4 hours by peeling corner, then every 30 minutes. Edges should lift clean while center feels tacky but not wet.
Edges peel cleanly from parchment without tearing, center feels tacky but not wet or sticky, and leather flexes without cracking. If wet spots remain, dry 30 more minutes.
Underdrying causes sticking - return to oven for 30-60 minutes until leather peels clean. Use quality parchment or silicone mat next time, and chill leather 15 minutes before peeling to firm it up.
Yes - unsweetened applesauce works well and may need less added sweetener. Spread same thickness (⅛ inch) and dry 4-6 hours until tacky center and clean edges.
Homemade Fruit Leather Rolls
Ingredients
Method
- Blend fruit until completely smooth, adding lemon juice, sweetener, salt, and optional thickener. Continue blending 30-60 seconds until no chunks remain. Strain if using seeded berries.2 cups fruit puree, 1 tablespoon lemon juice, 2 tablespoons sweetener, 1 teaspoon pectin or gelatin, 1 pinch salt
- Line a 13x18-inch rimmed baking sheet with parchment paper, smoothing out wrinkles to avoid uneven drying.
- Pour the puree onto the parchment and spread evenly to about ⅛ inch thick using an offset spatula, ensuring uniform thickness across edges and center.2 cups fruit puree
- Dry in an oven or food dehydrator set to 135-140°F for 4-6 hours. If using an oven, prop the door slightly open with a wooden spoon and rotate the pan halfway through drying time.
- Check after 4 hours by peeling a corner; leather should lift cleanly with a tacky center, not wet or brittle. If not done, continue drying checking every 30 minutes. Once done, cool 30 minutes.
- Roll the cooled fruit leather with the parchment, then cut into 1-inch strips for convenient snack rolls.
Notes
- Spread puree uniformly ⅛ inch thick to ensure even drying without burnt edges.
- Add lemon juice to preserve color and balance sweetness.
- Dry at low temperature (135-140°F) to prevent browning and caramelization.