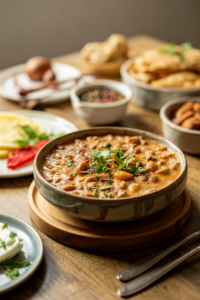
Precooked cornmeal arepas often turn out dry or fall apart because home cooks treat them like regular cornbread. The fix is using masarepa (precooked cornmeal) with just enough water to create a pliable dough that holds its shape while frying.

Medium heat gives you a crispy golden crust without burning the exterior before the inside cooks through. The cheese melts into pockets of creamy richness while the corn develops a toasted flavor.
Make these for weeknight breakfasts when you want something more substantial than toast but don't have time for complicated recipes. They work cold from the fridge or hot off the pan, and you can prep the dough the night before.
Breakfast arepas with cheese are pan-fried cornmeal discs stuffed with melty cheese that cook in 15 minutes. Precooked cornmeal (masarepa) mixed with water forms a dough you shape into thick rounds, then fry until golden. Make these when you need a filling gluten-free breakfast that holds up for meal prep.
Why This Recipe Works
Masarepa behaves differently than regular cornmeal because it's been cooked and dried before milling, which means it rehydrates into a cohesive dough instead of crumbling. Most people skip potatoes, but it balances the meal. For a version that comes together quickly, this easy potatoes recipe finishes in the air fryer while you shape the arepas.
Remember it later
Planning to try this recipe soon? Save it for a quick find later!
Prep Time
10 min
Cook Time
15 min
Total Time
25 min
Servings
4 servings
Difficulty
Easy
Category
Main Dish
Quick Tip
Cook on medium heat for crispy, golden crust
Best For
Weeknight | Meal prep | Family breakfast
Five reasons this works:
- Gradual water addition - Prevents too-wet dough that falls apart or too-dry dough that cracks when shaped
- 5-10 minute dough rest - Lets masarepa fully hydrate so discs hold their shape during cooking
- ½ inch thickness - Ensures the inside cooks through before the outside burns on medium heat
- Sealed cheese pocket - Pressing edges firmly around cheese prevents leaking during frying
- Covered pan finish - Traps heat in the last 2 minutes to melt cheese completely without overcooking exterior
What You'll Need
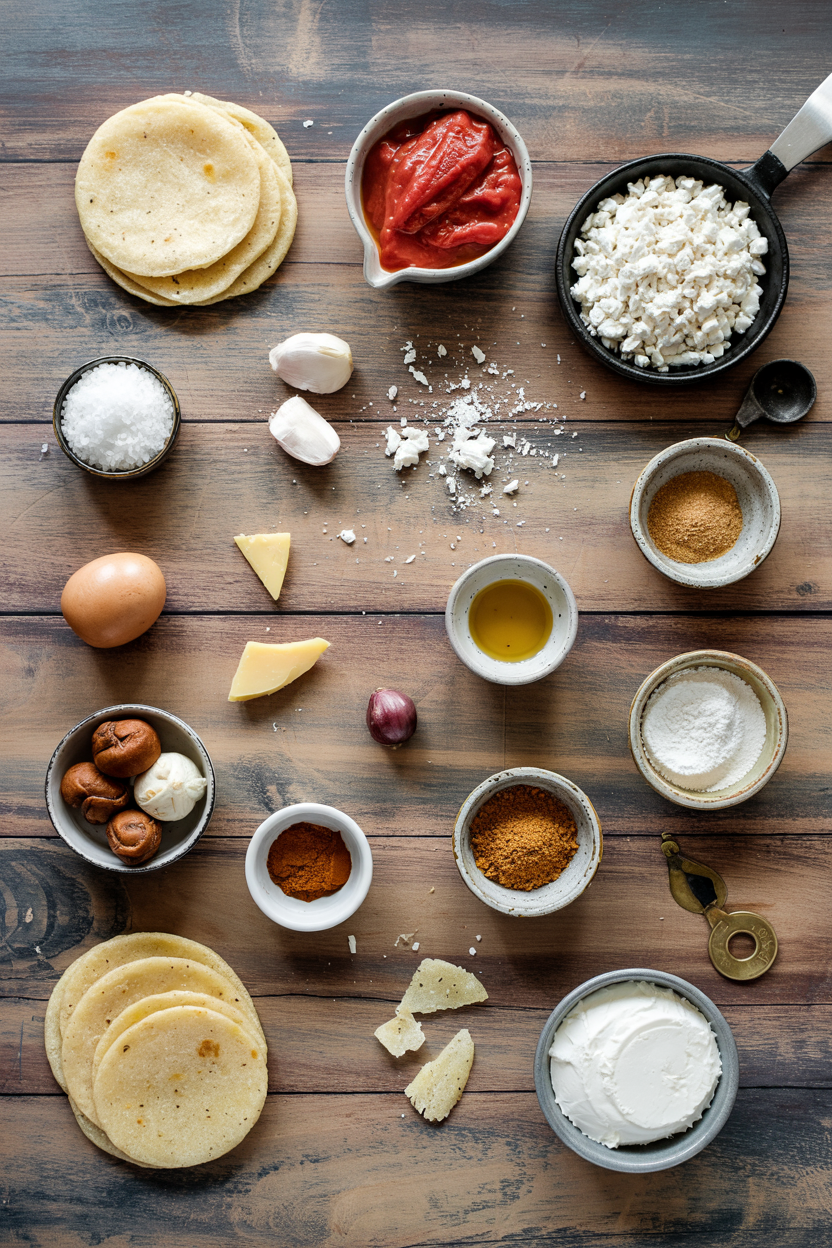
Shop for precooked cornmeal labeled "masarepa" or "harina precocida" in the Latin foods aisle, not regular cornmeal or polenta. A good oatmeal can make or break the plate. We keep a batch ready for nights like this - quick oatmeal dish handles the morning rush when you're making extras.
- 2 cups precooked cornmeal (masarepa)
- 2½ cups warm water
- 1 teaspoon salt
- 1 cup shredded queso fresco or mozzarella
- 2 tablespoons butter or vegetable oil (for frying)
- ¼ cup milk (for softer dough)
- Scrambled eggs (for filling)
- Diced onions (for sauté)
Ingredient Details
- Precooked Cornmeal (Masarepa)
Use only precooked cornmeal labeled "masarepa" - regular cornmeal or polenta won't form cohesive dough and will crumble when shaped - Water
Add warm water gradually in tablespoons after initial mixing to hit soft, pliable consistency that doesn't stick to hands - Salt
Use moderate salt (1 teaspoon per 2 cups masarepa) - too much overpowers cheese, too little tastes flat - Cheese
Fresh queso fresco or mozzarella melts best - aged cheeses turn oily or don't melt fully inside the pocket - Butter or Oil
Use enough fat to lightly coat the pan bottom - too little causes sticking, too much makes greasy arepas - Milk (Optional)
Replace up to half the water with milk for slightly richer, softer dough - whole milk works better than skim - Cooking Temperature
Medium heat (325-350°F) gives crispy golden crust without burning - high heat chars outside while leaving raw dough inside
Ingredient Swaps
Venezuelan arepas traditionally use white masarepa, but yellow masarepa works with a slightly sweeter corn flavor. Rich mains need something to cut through, and homemade does exactly that. For a version that comes together quickly, tangy homemade recipe pairs with arepas when you're serving them for brunch instead of breakfast.
Four swaps that work:
- Masarepa → polenta or regular cornmeal - Dough texture changes completely and may need extra hydration time or binder like egg; not traditional but gluten-free
- Queso fresco → mozzarella or Monterey Jack - Both melt well with mild flavor; Monterey Jack adds slight tang, mozzarella is stringier
- Butter → vegetable or avocado oil - Less rich flavor but still crisps the exterior; avocado oil handles higher heat without smoking
- Water → milk or plant milk - Creates softer, slightly richer dough; almond or oat milk work for dairy-free version
Queso Fresco
Works for: Authentic flavor, crumbly texture that melts into creamy pockets
Skip if: Can't find it locally - mozzarella substitutes well with slightly different texture
Mozzarella
Works for: Easy to find, melts completely, mild flavor that doesn't overpower corn
Skip if: You want less stringy cheese - queso fresco or Monterey Jack are better
Milk in Dough
Works for: Softer texture, slightly richer flavor, good for kids who prefer milder taste
Skip if: You're keeping it dairy-free or want traditional Venezuelan texture - use water only
Instructions
Cook four arepas at once in a large cast iron skillet, or work in two batches using a standard 10-inch nonstick pan. The coleslaw works best when it hits the table at the same time as the main. For a version that comes together quickly, homemade coleslaw recipe adds crunch when you need contrast on the plate.
Mix the dough: Combine 2 cups masarepa, 1 teaspoon salt, and 2½ cups warm water in a mixing bowl. Stir with your hands until no dry pockets remain, then let rest 5-10 minutes until dough is soft and pliable, not sticky. If dough feels dry or cracks when you press it, add water 1 tablespoon at a time.
Shape the discs: Divide dough into 8 equal portions (about ¼ cup each). Roll each into a ball, then flatten into a disc about ½ inch thick and 3-4 inches wide. Press your thumb into the center to create a shallow pocket, add 2 tablespoons cheese, then fold dough over and seal edges by pressing firmly.
Start frying: Heat 1 tablespoon butter or oil in a nonstick or cast iron skillet over medium heat (about 325-350°F). Place arepas in pan seam-side down, leaving space between each. Cook 5-7 minutes until bottom is golden brown with crispy edges.
Flip and finish: Flip arepas when bottom forms a golden crust that releases easily from pan. Add another ½ tablespoon butter if pan looks dry. Cook second side 5-7 minutes until golden, then cover pan for final 2 minutes to melt cheese completely.
Rest and serve: Transfer cooked arepas to a plate and let rest 2-3 minutes before serving. The exterior stays crispy while the inside sets slightly. Brush with melted butter for extra shine and flavor.
What to Serve With It
Arepas work as the main or as a side to scrambled eggs and bacon for a full breakfast spread. Salad adds the contrast this plate needs, but timing matters. We keep a batch ready for nights like this - something fresh and light balances the richness when you're serving brunch.
| Side Dish | Prep | Why It Works | How to Serve |
|---|---|---|---|
| Fried or Scrambled Eggs | Easy | Adds protein and runny yolk contrasts crispy arepa texture | Serve eggs on top or alongside, let yolk soak into arepa |
| Avocado Slices | Easy | Creamy texture balances salty cheese and corn | Slice ripe avocado, season with salt and lime juice |
| Black Beans | Easy | Adds fiber and earthy flavor that complements cheese | Warm canned black beans with cumin, serve in small bowl |
| Fresh Tomato Salsa | Easy | Bright acidity cuts through rich cheese and butter | Dice tomatoes, onion, cilantro; add lime and salt |
| Coffee or Fresh Juice | Easy | Traditional Venezuelan breakfast pairing with strong coffee | Brew strong coffee or serve orange juice on the side |
Three ways to serve it:
- Weeknight breakfast: Pair with fried eggs and avocado for a filling gluten-free meal that works for meal prep
- Weekend brunch: Add cilantro-lime crema, black beans, and fresh salsa for a full Latin-style breakfast spread
- Snack or light meal: Serve arepas alone with hot sauce or garlic aioli for dipping
Store and Reheat
Cooked arepas keep their crispy exterior better than most cornmeal dishes when stored properly and reheated on the stovetop instead of microwave. Most people skip potatoes, but it balances the meal. For a version that comes together quickly, this easy potatoes recipe rounds out breakfast when you're reheating a batch.
| Method | Time | Best For |
|---|---|---|
| 🍳 Stovetop | 5-7 min over medium heat | Restoring crispy crust and melting cheese evenly |
| 🔥 Oven | 10 min at 350°F (175°C) | Reheating multiple arepas at once without drying out |
| 📦 Microwave | 30-45 seconds | Quick reheating when you don't care about crispy texture |
For best results when storing:
- Refrigerate in single layer: Place cooled arepas in shallow airtight container separated by parchment paper to prevent sticking; keeps 3-4 days
- Freeze individually: Wrap each arepa in plastic wrap, then place in freezer bag; freeze up to 2 months
- Reheat on stovetop: Heat 1 teaspoon butter in pan over medium heat, cook 3-4 minutes per side until crispy and heated through
- Skip microwave when possible: Microwave makes arepas soggy and rubbery; use only when you're in a rush
- Thaw frozen arepas first: Let sit at room temperature 20 minutes or refrigerate overnight before reheating for even warming
Frequently Asked Questions
No - regular cornmeal or polenta won't form cohesive dough because it hasn't been precooked and dried. Masarepa rehydrates into pliable dough that holds together when shaped and fried, while raw cornmeal stays grainy and crumbles apart.
Refrigerate cooked arepas in an airtight container for 3-4 days, or freeze individually wrapped for up to 2 months. Reheat on the stovetop over medium heat for 5-7 minutes to restore crispy crust - microwave makes them soggy.
Look for golden brown crust on both sides that feels firm and slightly crispy when touched. The arepa should sound hollow when tapped and release easily from the pan without sticking, usually after 5-7 minutes per side on medium heat.
Soggy arepas come from too much water in the dough or cooking at low heat - add water gradually and cook on medium heat. Dry arepas happen from too little water or overcooking - add water 1 tablespoon at a time until dough is pliable, and remove arepas from heat once both sides are golden.
Plan for 2 arepas per person when serving as the main breakfast dish, or 1 arepa per person if you're pairing them with eggs, beans, and other sides. Appetites vary, so make extras for meal prep since they reheat well.
Breakfast Arepas with Cheese
Ingredients
Equipment
Method
- Combine 2 cups masarepa, 1 teaspoon salt, and 2.5 cups warm water in a mixing bowl. Stir with your hands until no dry pockets remain. Let rest 5-10 minutes until dough is soft and pliable. If dough cracks or feels dry, add water 1 tablespoon at a time.2 cups precooked cornmeal, 2.5 cups water, 1 teaspoon salt
- Divide dough into 8 equal portions (about ¼ cup each). Roll each into a ball then flatten into a ½ inch thick disc about 3-4 inches wide. Press a shallow pocket in the center, add 2 tablespoons shredded cheese, then fold dough over and seal edges firmly.1 cup cheese
- Heat 1 tablespoon butter or oil in a nonstick or cast iron skillet over medium heat (325-350°F). Place arepas seam-side down, spaced apart. Cook 5-7 minutes until bottom is golden brown and crispy.2 tablespoons butter or vegetable oil
- Flip arepas when bottom releases easily from pan with a golden crust. Add ½ tablespoon more butter if pan is dry. Cook 5-7 minutes until second side is golden. Cover pan and cook 2 additional minutes to melt cheese inside.2 tablespoons butter or vegetable oil
- Transfer arepas to a plate and let rest 2-3 minutes. The exterior remains crispy while the inside sets slightly. Optionally brush with melted butter for extra flavor.
Notes
- Add water gradually to avoid wet or crumbly dough.
- Cook on medium heat to prevent burning and ensure arepas cook through.
- Press edges firmly around cheese to avoid leakage during frying.