Silky chocolate custard piled into a crisp pie shell with whipped cream on top. That's what you get when you temper egg yolks properly and blind bake the crust before filling it.

The stovetop does most of the work. You whisk cornstarch into milk, melt in chocolate, and let it cool until firm.
This works for family dinners or holidays when you need a make-ahead dessert that looks like you spent all day in the kitchen.
Chocolate cream pie starts with a blind-baked crust, gets filled with chocolate custard thickened with cornstarch and egg yolks, then chills for 3+ hours. Tempering the yolks prevents curdling. The custard must coat the back of a spoon before you take it off the heat.
Why This Recipe Works
High-quality chocolate melts into milk for smooth texture instead of grainy lumps. For a version that comes together quickly, this quick gravy dish uses similar stovetop thickening methods for silky results.
Remember it later
Planning to try this recipe soon? Save it for a quick find later!
Prep Time
25 min
Cook Time
15 min
Total Time
4 hr (including chilling)
Servings
8 servings
Difficulty
Medium
Category
Dessert
Quick Tip
Chill pie 3+ hours before serving
Best For
Family dinner | Holidays | Entertaining
- Blind baking the crust at 375°F for 12-15 minutes with pie weights creates a crisp base that won't turn soggy from the wet custard filling
- Tempering egg yolks by whisking one-third of the hot milk in first prevents scrambling and gives you smooth custard instead of lumpy curds
- Cooking custard over medium-low heat for 8-10 minutes activates the cornstarch fully so the filling sets firm instead of staying runny
- Covering the custard with plastic wrap touching the surface prevents a thick skin from forming while it cools
- Chilling the pie for at least 3 hours lets the custard set completely so slices hold their shape when you cut them
What You'll Need
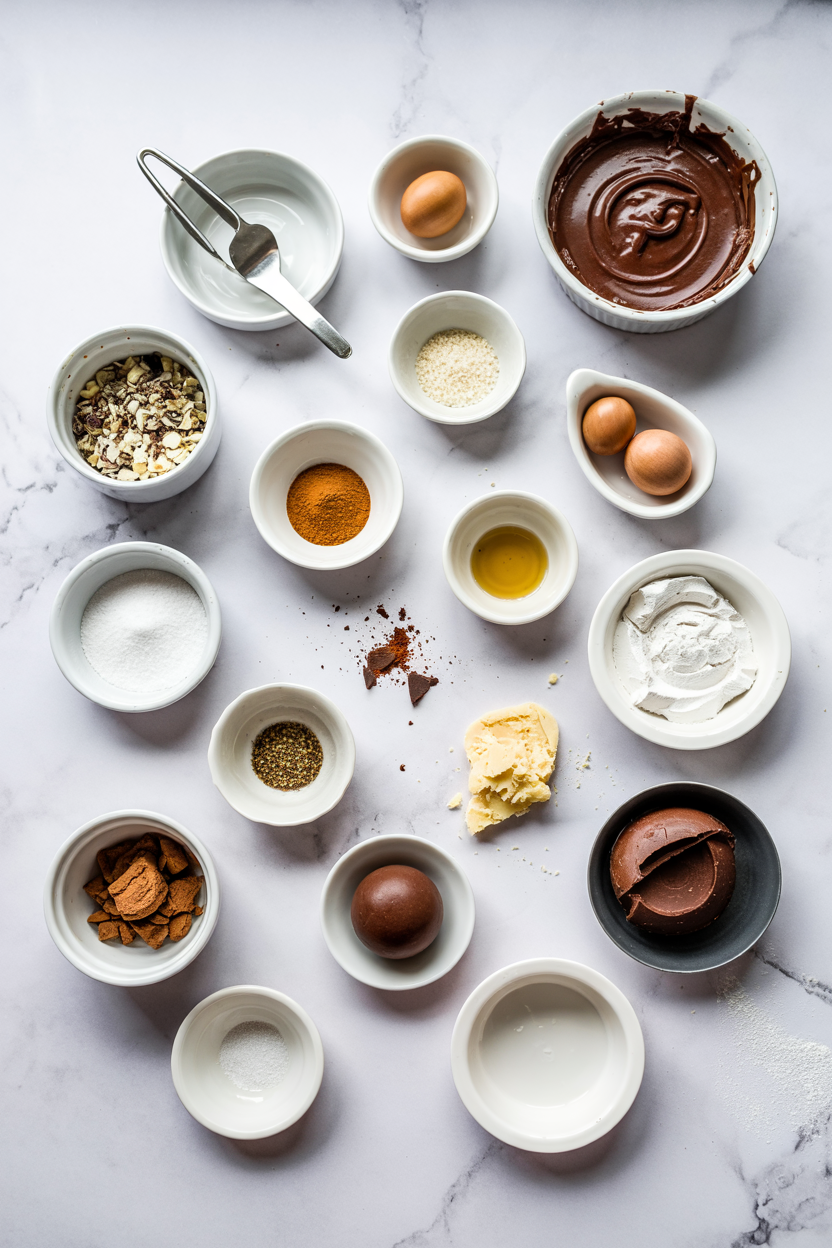
Shopping for chocolate cream pie means buying quality chocolate and fresh dairy. If you want variety in your dessert planning, something sweet like pie uses similar baking techniques for crisp crusts and smooth fillings.
- 9-inch pie crust (pastry or graham cracker)
- 6 oz semi-sweet chocolate
- 2 cups milk or half-and-half
- ¾ cup granulated sugar
- ⅓ cup cornstarch
- 4 egg yolks
- 2 tablespoon unsalted butter
- 1 teaspoon vanilla extract
- 1 cup heavy whipping cream
- 2 tablespoon powdered sugar
Ingredient Details
- Semi-sweet chocolate
Chop into small pieces so it melts evenly into the hot milk without lumps - Milk or half-and-half
Half-and-half makes richer custard; whole milk works fine for lighter texture - Cornstarch
Whisk it with sugar before adding liquid to prevent clumping when it hits heat - Egg yolks
Room temperature yolks temper more smoothly than cold ones straight from the fridge - Pie crust
Store-bought or homemade both work-just blind bake it fully before filling - Heavy whipping cream
Chill the bowl and beaters for 10 minutes before whipping for faster, stiffer peaks - Unsalted butter
Stir it in after cooking while custard is still hot so it melts completely
Ingredient Swaps
Most ingredient swaps work if you adjust cooking time or texture expectations. When planning similar desserts, a simple cheesecake variation offers another creamy option with comparable richness.
- Milk or half-and-half → unsweetened almond or oat milk: Slightly thinner custard with subtle nutty flavor, may need extra cornstarch to reach same thickness
- Traditional pie crust → gluten-free pie crust or crushed gluten-free cookies: Crumblier texture that may need gentle handling when slicing
- Egg yolks → extra cornstarch plus agar-agar powder: Firmer set but lacks richness and silkiness of egg-based custard
- Whipped cream → coconut whipped cream: Different flavor profile and less stable texture, serve immediately after topping
Dairy Milk
Works for: Smooth custard texture, traditional flavor, easy tempering
Skip if: Dairy-free required, prefer lighter dessert
Almond or Oat Milk
Works for: Dairy-free diets, lighter texture, subtle nutty notes
Skip if: Want rich custard, need thick consistency
Pastry Crust
Works for: Flaky texture, traditional pie, holds up to wet filling
Skip if: Gluten-free required, prefer sweeter base
Graham Cracker Crust
Works for: Sweeter base, easier prep, no rolling required
Skip if: Want flaky texture, prefer traditional pie
Instructions
The filling takes 15 minutes on the stovetop, then chills while you prep the topping. When building full meals with similar techniques, hearty beef recipe uses the same careful temperature control for tender results.
Blind bake the crust: Preheat oven to 375°F, line crust with parchment and pie weights, bake 12-15 minutes until edges turn golden, remove weights and bake 3 more minutes until bottom looks dry and lightly colored.
Make the custard base: Whisk cornstarch and sugar together in a saucepan, slowly whisk in milk until smooth with no lumps, add chopped chocolate, cook over medium-low heat stirring constantly for 8-10 minutes until mixture thickens and coats the back of a spoon.
Temper the egg yolks: Beat egg yolks in a bowl, slowly whisk in one-third of the hot chocolate mixture while whisking constantly, pour tempered yolks back into the saucepan, cook 2 more minutes stirring constantly until custard thickens further.
Finish and chill: Remove from heat, stir in butter and vanilla until butter melts completely, pour custard through a fine-mesh strainer into the baked pie crust, press plastic wrap directly onto custard surface, refrigerate 3-4 hours until completely set.
Add topping before serving: Chill mixing bowl and beaters 10 minutes, beat heavy cream and powdered sugar to soft peaks, spread or pipe over chilled pie, slice with a hot dry knife for clean cuts.
What to Serve With It
Chocolate cream pie needs something to cut through the richness or add textural contrast. Pie adds the contrast this plate needs, but timing matters. For a version that comes together quickly, this easy pie recipe offers another approach to balanced flavors.
| Side Dish | Prep | Why It Works | How to Serve |
|---|---|---|---|
| Fresh berries | Easy | Tart brightness cuts through creamy chocolate richness | Scatter mixed berries on top or serve alongside each slice |
| Coffee or espresso | Easy | Bitter notes balance sweet dessert without competing | Brew strong coffee or pull espresso shots to serve hot |
| Mint leaves | Easy | Fresh herby aroma complements chocolate without overwhelming | Tuck small mint sprigs between whipped cream and chocolate |
| Vanilla ice cream | Easy | Cold creaminess adds temperature contrast to chilled pie | Scoop ice cream next to pie slice or serve in separate bowl |
| Toasted almonds | Easy | Crunchy texture breaks up smooth custard and soft cream | Chop toasted almonds and sprinkle over whipped cream topping |
Three ways to serve it:
- For family dinners: Slice pie cold, top with whipped cream, serve with hot coffee on the side
- For holidays: Garnish with chocolate shavings and fresh berries, plate with espresso or dessert wine
- For potlucks: Transport pie chilled in container, add whipped topping just before serving to prevent weeping
Store and Reheat
Chocolate cream pie keeps 3-4 days in the fridge when covered loosely with plastic wrap. Rich mains need something to cut through, and sauce does exactly that. For a version that comes together quickly, quick sauce recipe uses the same make-ahead approach for busy weeks.
| Method | Time | Best For |
|---|---|---|
| 🍴 Serve Chilled | 15 min at room temp | Best texture and clean slices-this is how pie should be served |
| 📦 Microwave | 10-15 seconds per slice | Quick softening if filling is too firm, but cream may weep |
| 🏠 Room Temperature | 15 minutes before serving | Takes chill off for balanced flavor without warming filling |
For best results when storing:
- Cover pie loosely with plastic wrap so condensation doesn't drip onto whipped cream and make it watery
- Store in the coldest part of your fridge (back of bottom shelf) to keep custard firm and prevent bacterial growth
- Add whipped cream topping just before serving if making pie more than 6 hours ahead to prevent weeping
- Freeze individual slices wrapped tightly for up to 1 month, thaw overnight in fridge before serving
- Slice with a hot dry knife by running it under hot water, wiping dry, then cutting through pie for clean edges
Frequently Asked Questions
Yes, make the pie up to 2 days ahead and store it covered in the fridge. Add whipped cream topping just before serving so it stays fluffy instead of weeping.
Cover it loosely with plastic wrap and refrigerate for 3-4 days. Loose covering prevents condensation from dripping onto the whipped cream.
The custard should coat the back of a spoon and hold a line when you drag your finger through it. After chilling 3+ hours, it should be firm enough that a slice holds its shape when cut.
You added hot milk too quickly to the egg yolks or cooked the custard over too high heat. Temper yolks slowly by whisking in one-third of the hot mixture first, and keep heat at medium-low.
Use the doubled filling amount in a deep-dish 9-inch pie or split it between two standard pies. Cooking time stays the same but chilling may take an extra hour for a deeper pie.
Chocolate Cream Pie
Ingredients
Method
- Preheat oven to 375°F. Line the pie crust with parchment paper and fill with pie weights. Bake for 12-15 minutes until edges turn golden. Remove the weights and parchment, then bake 3 more minutes until the bottom looks dry and lightly colored.1 9-inch pie crust
- In a saucepan, whisk together cornstarch and sugar. Slowly whisk in milk until smooth and no lumps remain. Add chopped chocolate. Cook over medium-low heat, stirring constantly for 8-10 minutes until the mixture thickens and coats the back of a spoon.0.75 cup granulated sugar, 0.33 cup cornstarch, 2 cups milk, 6 oz semi-sweet chocolate
- In a bowl, beat the egg yolks. Slowly whisk in one-third of the hot chocolate mixture while whisking constantly to temper. Pour the tempered yolks back into the saucepan and cook 2 more minutes, stirring constantly until custard thickens further.4 egg yolks
- Remove the custard from heat. Stir in butter and vanilla extract until butter melts completely. Pour the custard through a fine-mesh strainer into the baked pie crust. Press plastic wrap directly onto the custard surface and refrigerate for 3-4 hours until completely set.2 tablespoons unsalted butter, 1 teaspoon vanilla extract, 1 9-inch pie crust
- Chill the mixing bowl and beaters for 10 minutes. Beat the heavy whipping cream and powdered sugar until soft peaks form. Spread or pipe over the chilled pie. Slice with a hot dry knife for clean cuts.1 cup heavy whipping cream, 2 tablespoons powdered sugar
Notes
- Blind bake crust fully to prevent sogginess under custard filling.
- Temper egg yolks slowly to avoid curdling and ensure smooth custard.
- Press plastic wrap on custard surface to prevent skin from forming while chilling.